
This is our version of a 100% rye sourdough bread using the three-stage Detmolder method, as described in ‘Bread’, by Jeffrey Hamelman. The book describes a 90% rye recipe, which we have adapted to suit personal preferences.
This recipe produces a 1lb 14oz loaf, at 90% hydration. We use more water than the original recipe, because of the extra 10% rye, and because we found that doing so produces a less dense, slightly more pleasantly acid loaf that keeps longer. Before starting, you will need to have created a healthy starter culture ( leaven ).
There is no point in replicating here all of the technical reasons for the three stages, except to say that each stage is designed to best develop one of three properties ( yeast, acetic acid, and lactic acid ). We wanted simply to illustrate what results you might expect to see at each stage, to show the remarkable transformation that takes place with the application of heat and time.
The end result of this process is a satisfying, nutritious bread with a complex flavour, that has excellent keeping qualities.
Flour
Our quest is to try to produce a dark wholegrain rye bread of the type found in Germany and Austria. So far, it has proved impossible to find a wholegrain rye flour locally in France. We currently buy a good quality rye flour from an artisan baker who buys from a small mill, but this produces a bread lighter than our ideal, and this is what the pictures show. We may have to resort to buying whole grains from Germany and milling it ourselves in small quantities.
Time
Although it sounds like a lot of time is involved ( 24-36 hours ), as with the creation of the starter, most of this time is taken up by the leaven doing its thing. The only time required of the baker for most of this whole process is a few moments at each stage to mix the next, and then some time for baking.
Don’t worry too much about timings. Sometimes a stage will be ready sooner, sometimes later than expected. The leaven is a live creature that reacts to the conditions of your kitchen. It has a lot of work to do, multiplying at an incredible rate to devour all of the fresh food you are feeding it at every stage. With experience, you will learn to adapt to this creature’s requirements, and judge each bake accordingly.
We tend to start this process in the morning, so that we are ready to bake in the late afternoon or early evening of the folowing day.
Temperature
 For optimal development of yeast, acetic acid and lactic acid, quite specific temperature ranges are required at each stage. Until we get it together to build a proper proofing cupboard, improvisation will have to do.
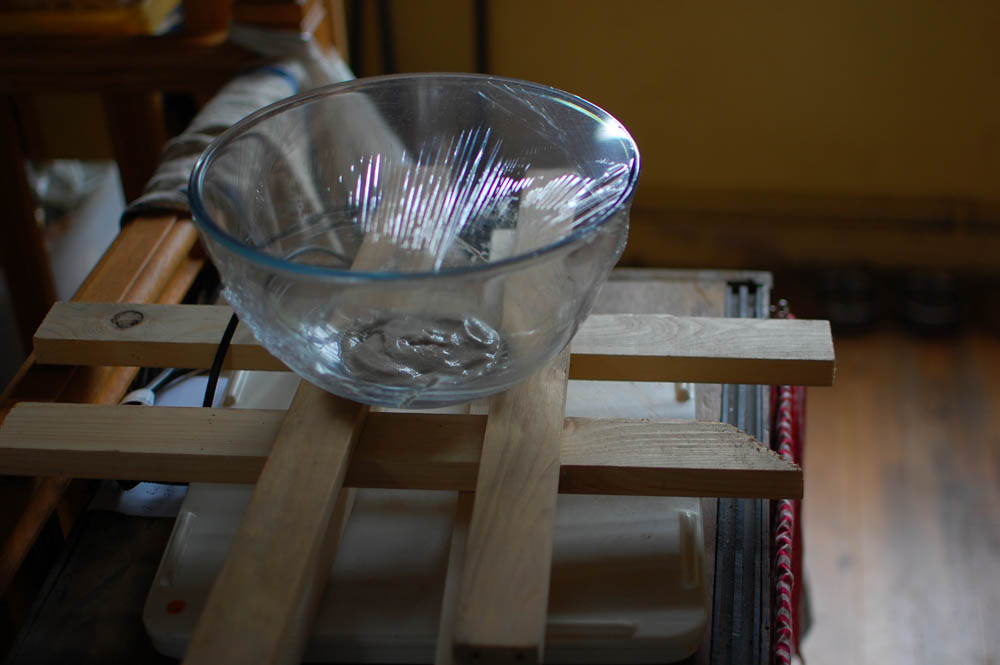
For a heat source we use the type of heating tray that can be found in most homebrew stores, or similar. These trays have no thermostat, have one single temperature setting. Placing the mixing bowl directly on to the tray warms the dough too much, so we raised the bowl with a few pieces of stacked wood. The required height above the tray depends on room temperature and desired temperature of the dough. Plugging the tray into a cheap timer unit, and experimenting with heating intervals ( 15 minutes on, 30 off, etc ), with a bit of trial and error, you can keep the dough at the required temperature fairly accurately.
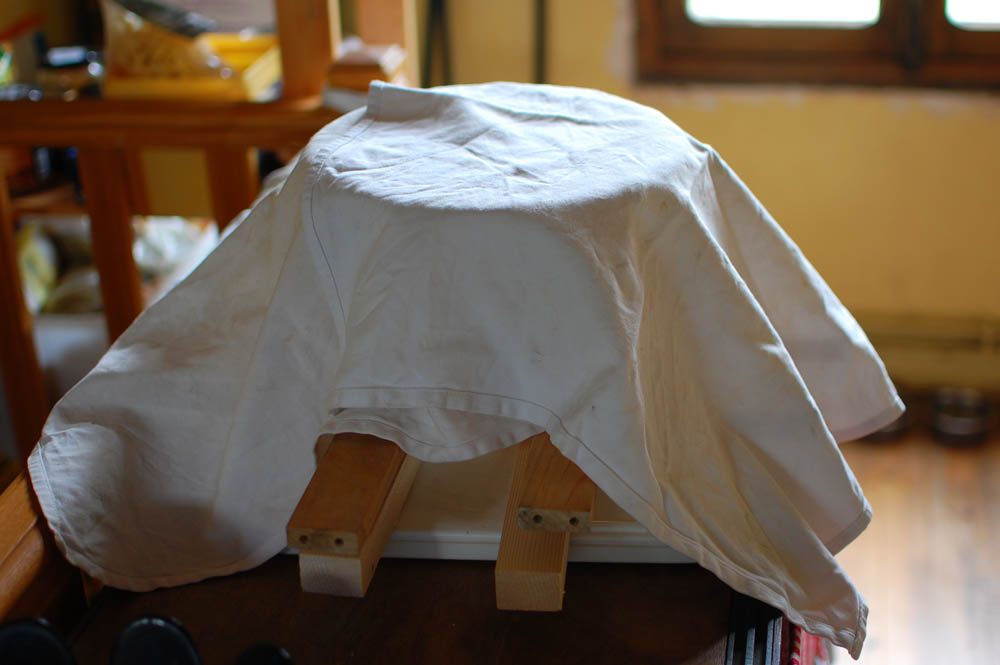 Cover the bowl and tray with cloths so as to minimise the amount of the tray’s heat lost to the air.
It’s worth noting that we never manage to keep every stage at exactly the right temperature for the required period of time. This is only possible with a dedicated proofing cupboard. As long as the achieved temperatures are within the right region, you will achieve good results. Every loaf you bake will be slightly different, but this is one of the joys of home baking.
Method
Note : these photos show double the volumes listed below.
 Step 1, freshening the starter, and developing yeast. Mix 3/4 tablespoon rye flour, 1/2 tablespoon water, 1/2 teaspoon rye starter culture. Leave for 5-6 hours at 25°C.
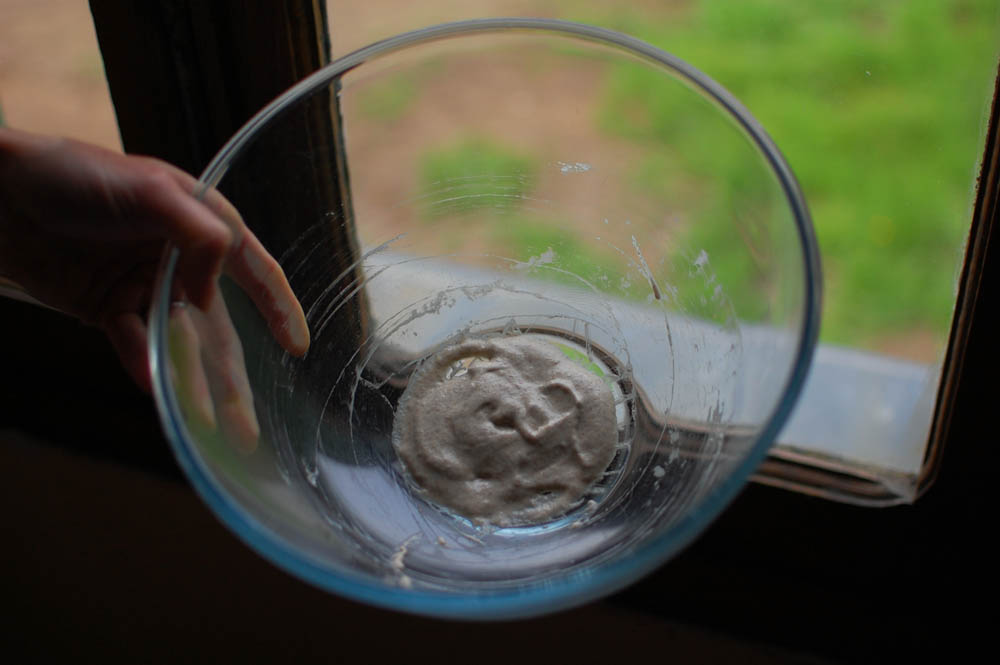
After five or six hours, the refreshed starter is showing signs of life.
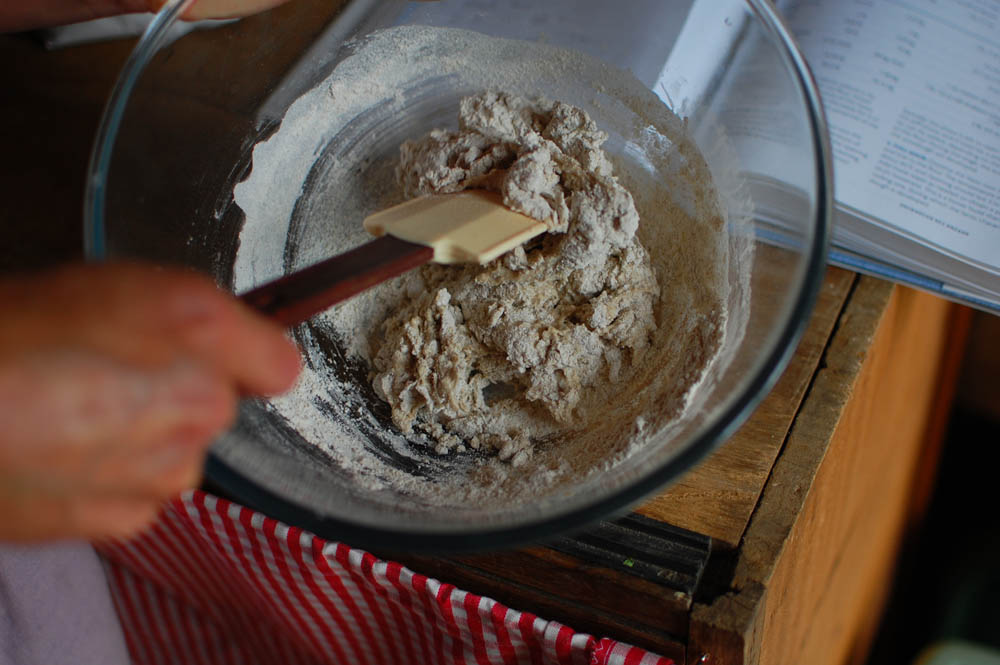 Disperse all of the above in 1.25oz water, then mix in 1.6oz rye flour.
This is the Basic Stiff phase, to develop the acetic acid. It is left for between 15-24 hours, at between 23-26°C. The lower the temperature, the longer the ripening time.
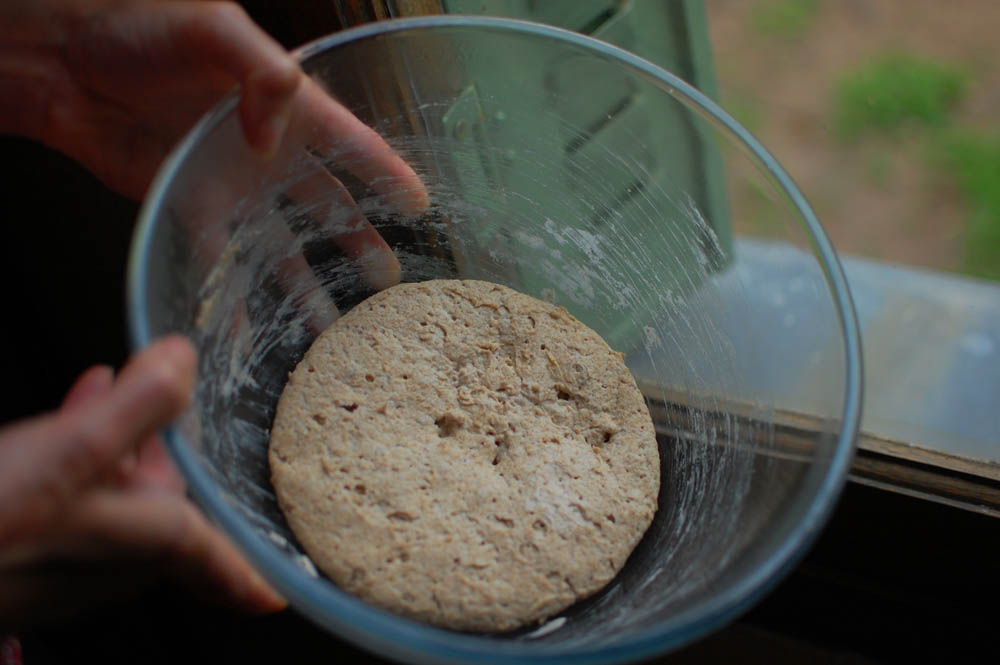 It’s ready when you can see that it is obviously alive. The mixture is full of tiny air pockets, and it has a pleasant acid tang.
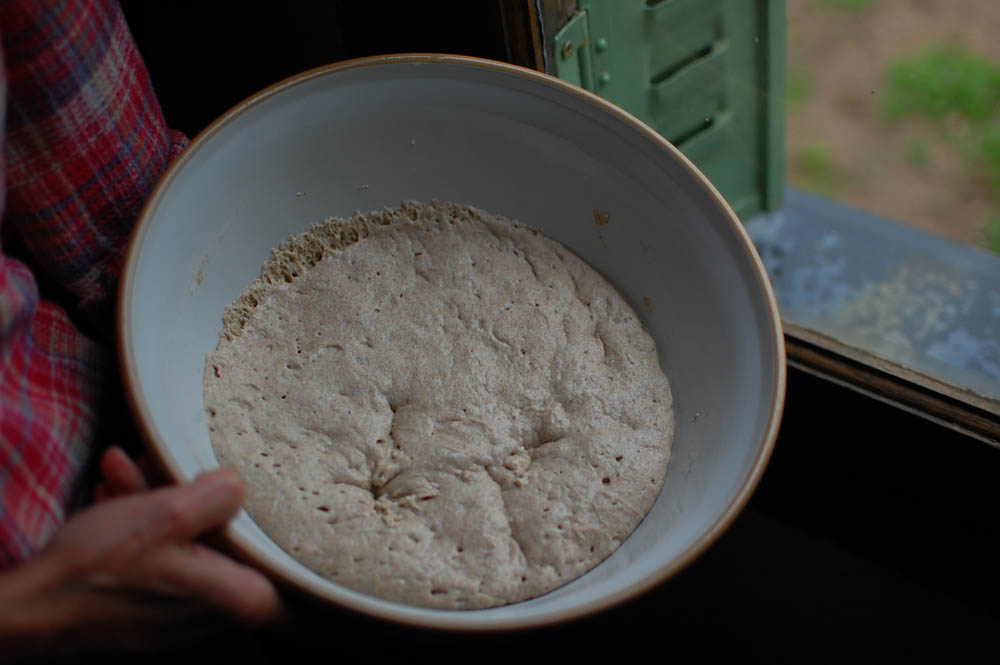 Next stage is the Full Sour, which develops the lactic acid.
All of the above is dispersed in 5oz water and mixed with 4.3oz rye flour, left for 3-4 hours at 29°C. This mix is a fair bit looser than the previous.
 Next is the Final Fermentation stage.
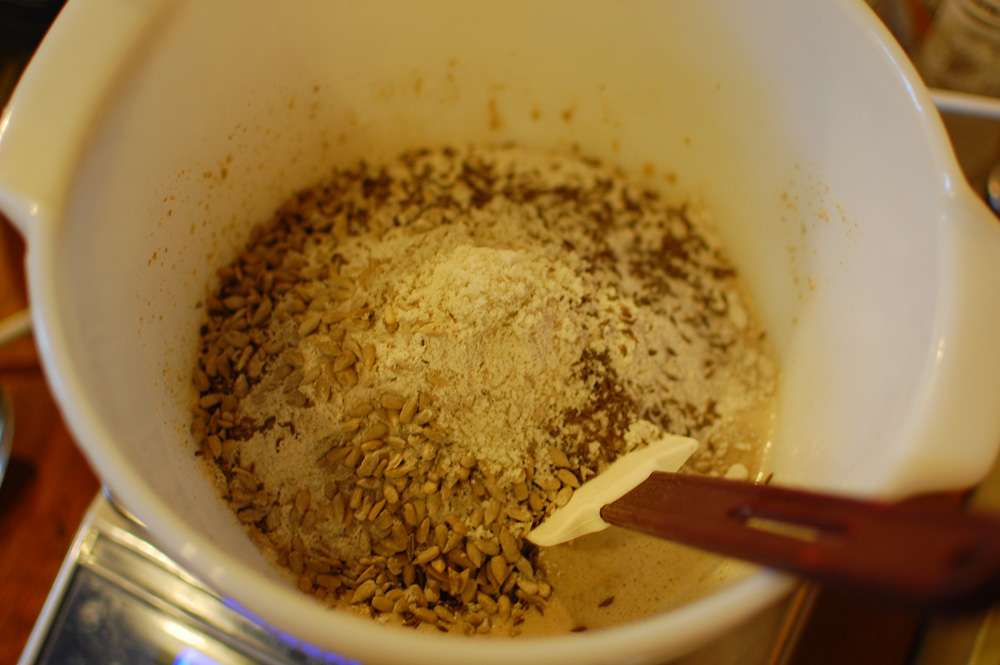
First, remove a teaspoon of the above leaven, and put to one side. This is the culture that you will continue to feed in preparation for the next loaf.
Disperse the remainder in 8oz water, then mix in 9.9oz rye flour and 1 tablespoon ground seasalt. We also add 1 heaped tablespoon caraway seeds and 2 tablespoons sunflower seeds at this stage.
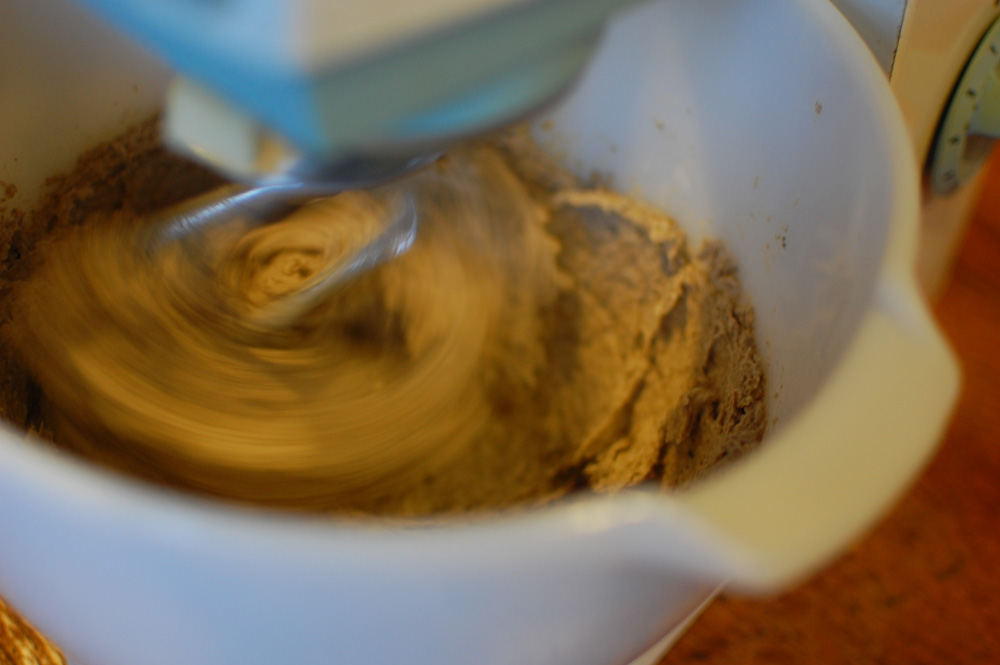 Because of the high hydration percentage, the dough is very sticky, and so is easier to mix briefly in a machine.
All that is needed is a minute or so at the slowest speed, then the same again at a faster speed. You are simply incorporating the ingredients. Because rye flour does not develop gluten, kneeding is not required.
The final consistency should allow the dough to slide very slowly off a raised spoon under its own weight. If it is so thick it doesn’t move, mix in a small quantity of extra water, a teaspoon or half a tablespoon at a time.
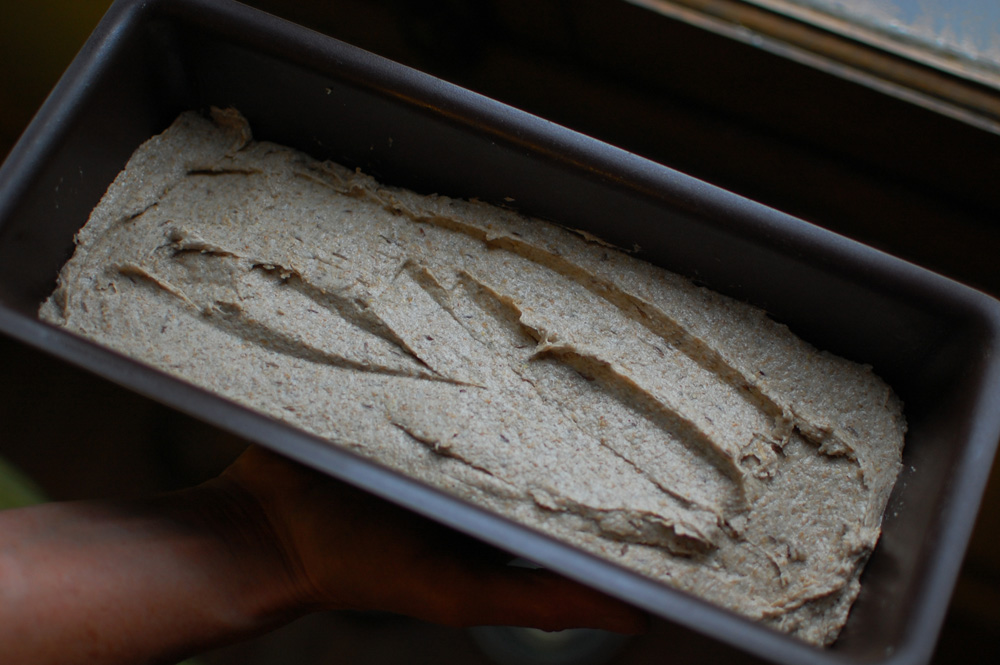 Place in an oiled 2lb loaf tin, dust very lightly with flour. Cover and leave at 28°C for 2-3 hours, until the surface of the loaf springs back under a light touch. When we first started baking this recipe, we baked loose in a cloche ( see below ). A tin produces better results.
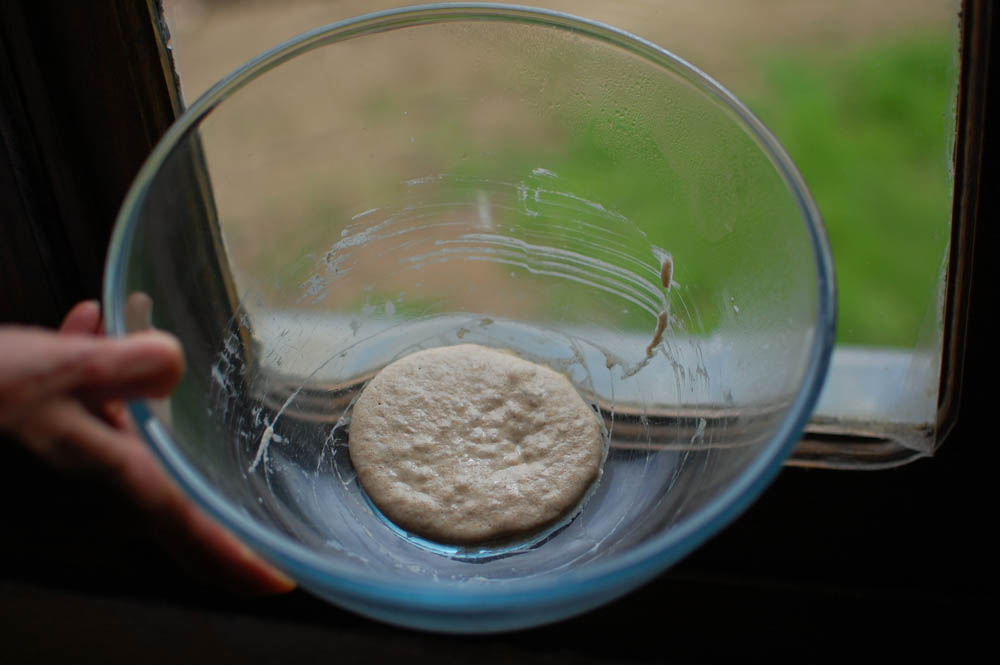
 It’s ready.
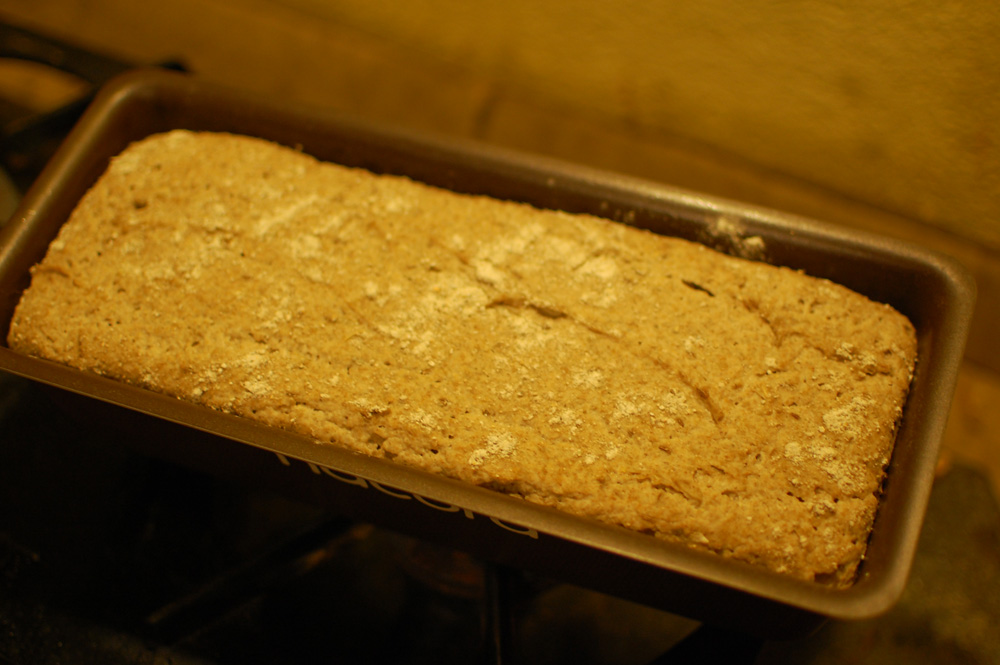
 Bake at 220°C for ten minutes, then 200°C for 30 minutes. Remove from the tin and bake for approximately another 10 minutes, until the bread sounds hollow when knocked on the bottom.
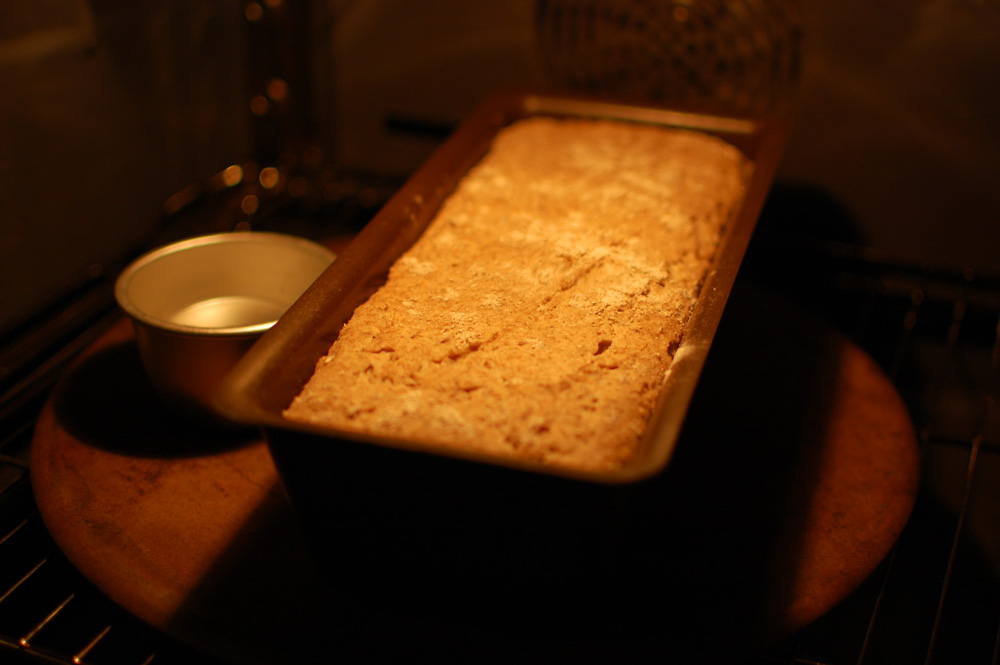
Use a pizza stone ( pictured ) if you have one, place it in the oven while pre-heating. This will transfer heat very quickly to the loaf when the tin is placed on it. A small cup of boiled water in the oven will create some required humidity.
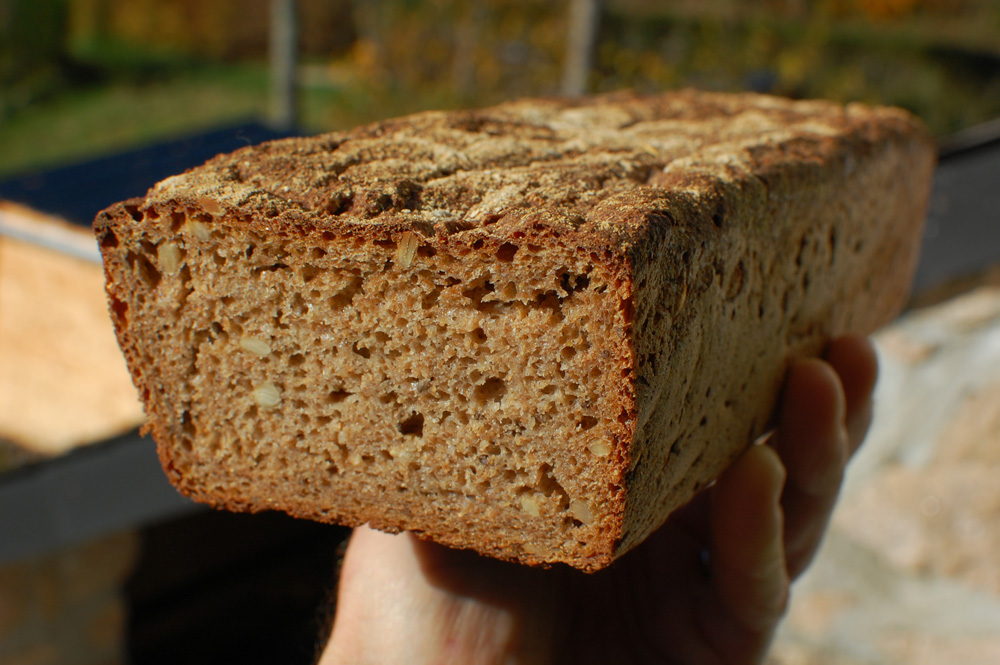 Now the difficult part. Wait at least 24 hours before cutting. The bread needs this rest time to firm up, and for the flavours to properly develop. Thick slices can be an effort to chew, so slice thinly; like salamis, the flavour actually becomes more pronounced.
It looks like the final fermentation stage for this particular loaf either wasn’t left for long enough, or wasn’t at quite the right temperature. Normally, it is a little airier than this ( but not much, given the lack of gluten formation ). You get the idea though.
Baking with a cloche
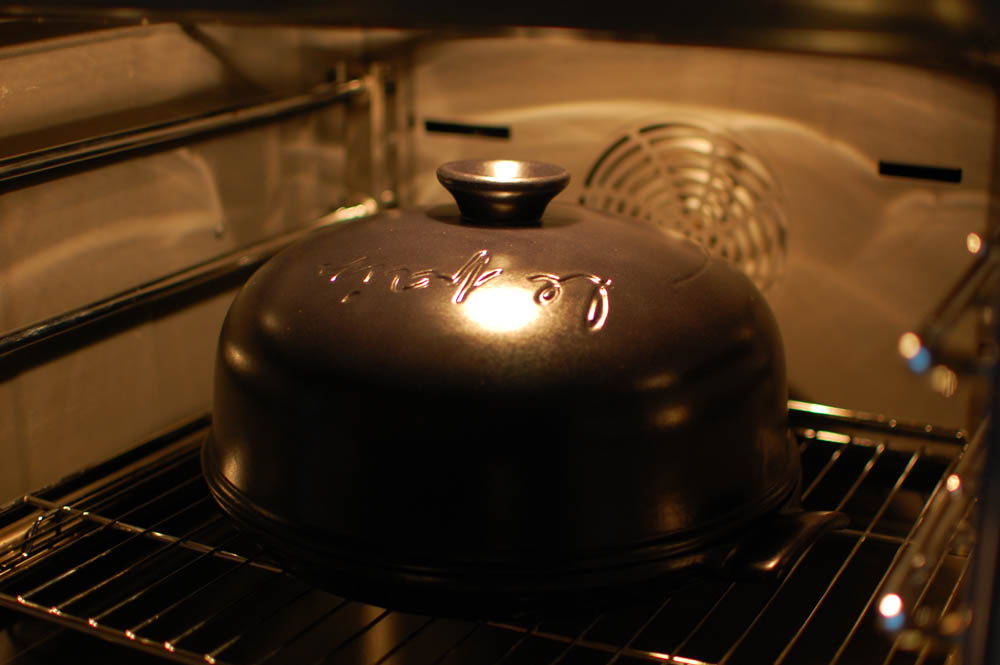 During our first bakes, we used an Emile Henry stoneware cloche, which is designed to mimic the conditions inside a stone bread oven.
Absurdly, probably for Health And Safety Please Don’t Sue Us reasons, the instructions that come with it recommend not to pre-heat the cloche before placing the loaf in to cook. This is absurd, because the whole point of a stone bread oven is that the tremendous stored heat in the masonary shocks the dough as it hits the oven floor, causing the air trapped in the dough structure to expand rapidly, creating the magic rise, and other related bready benefits.
So, we ignored the instructions, and preheated the cloche for an hour before baking.
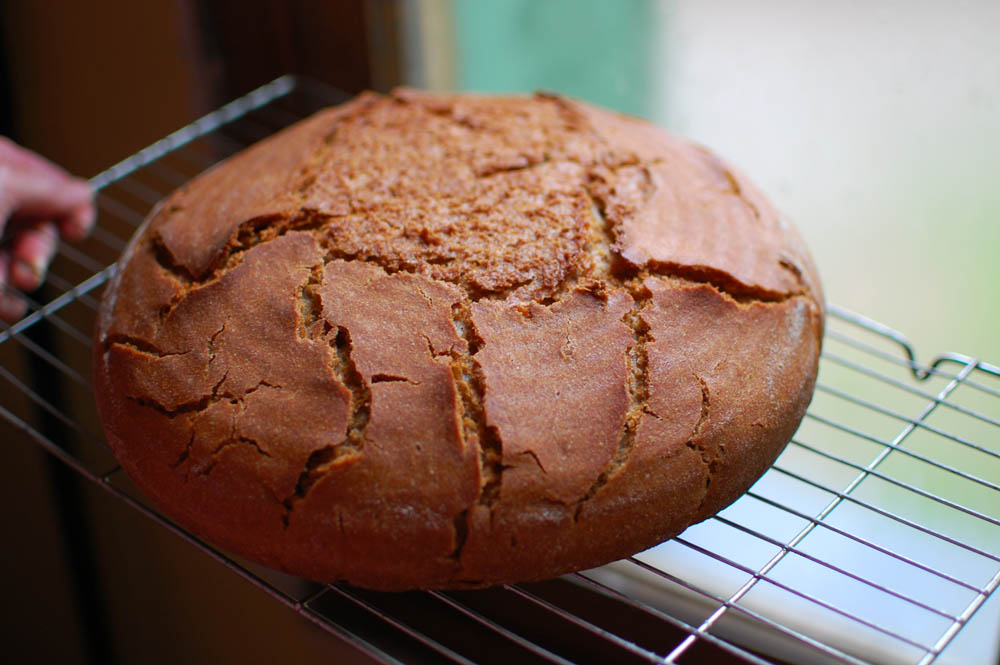 Unfortunately, because of the lack of gluten formation in rye bread, it does not rise. In fact, when turned out from the form into the cloche, it actually flattens out a little.
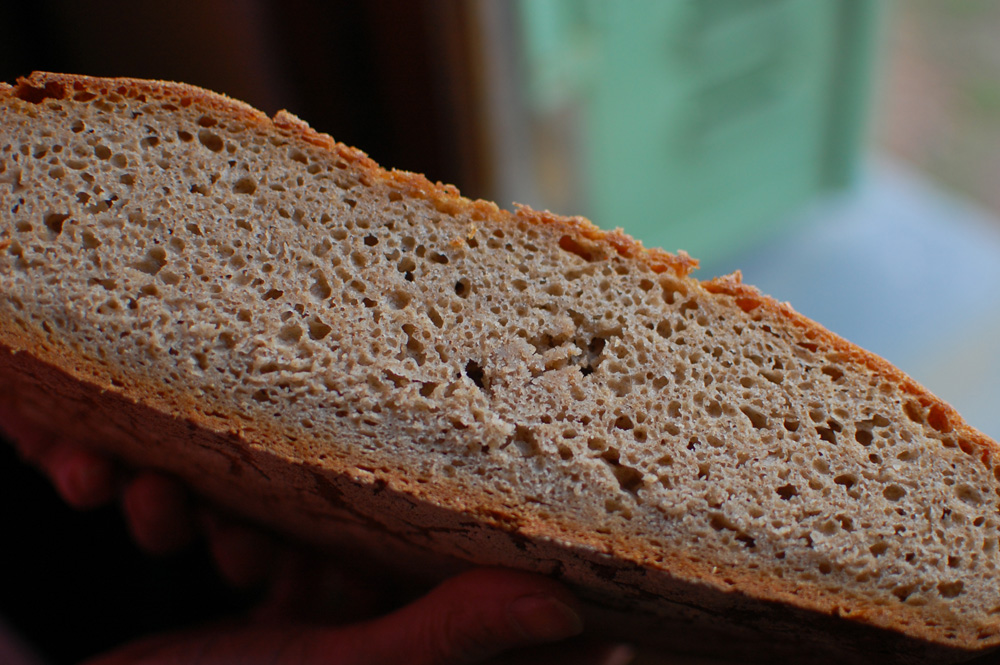 This creates a thin loaf with quite a close texture ( although the texture may have had more to do with less-than-optimal hydration ) . Although it keeps reasonably well and the flavour is good, it does dry quickly, and after a few days the loaf is difficult to cut.
This is the reason we took to baking rye bread in a tin form. For other, more glutenous breads, the cloche works as expected, it is a fine piece of kit. We may yet try baking the rye in a smaller tin that fits inside the cloche, as an experiment.