
The first, and most important work we needed to undertake when renovating this property was to install a French drain. Named not after the country, but after the person who came up with the system.
The house is built into an earth bank, with no protection, in an area known for an abundance of natural springs. This means that the walls absorb and wick moisture, leading to the normal problems associated with damp.
An apology in advance : halfway through this process I bought a new camera, and took a load of photos without really getting to grips with the settings, so the quality isn’t great.
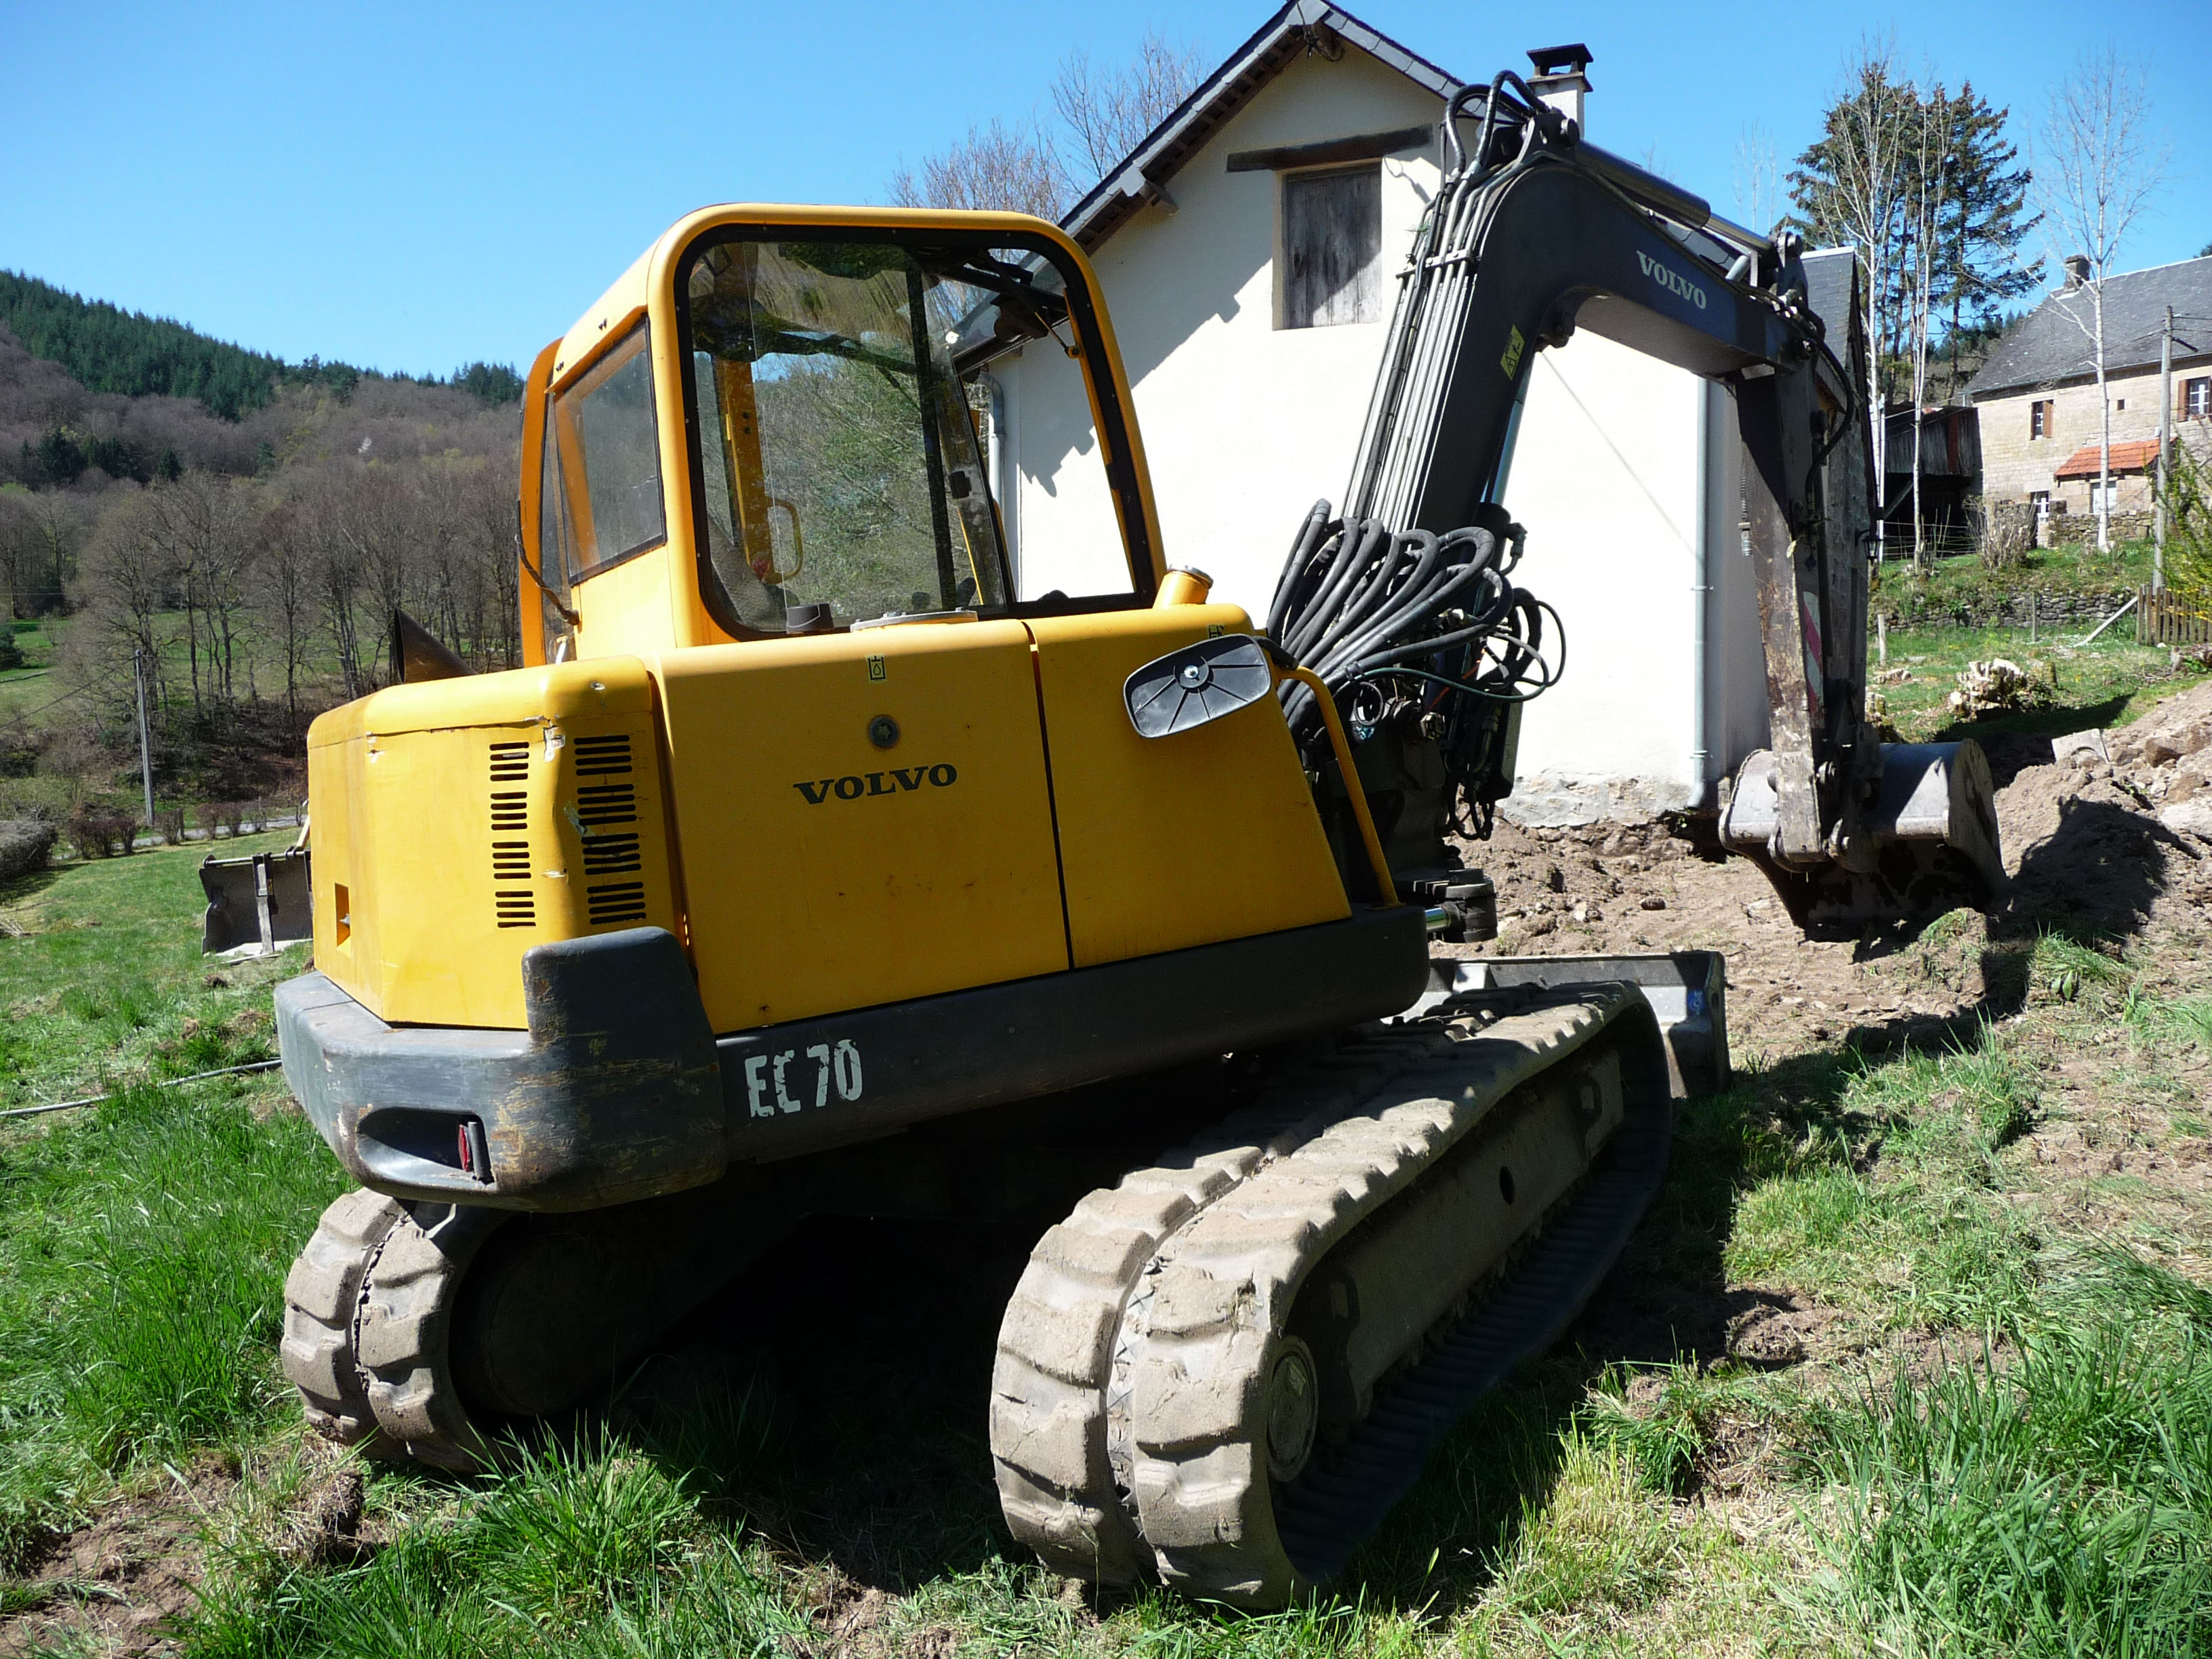 Step 1: bring in the digger. A big one, for digging big holes.
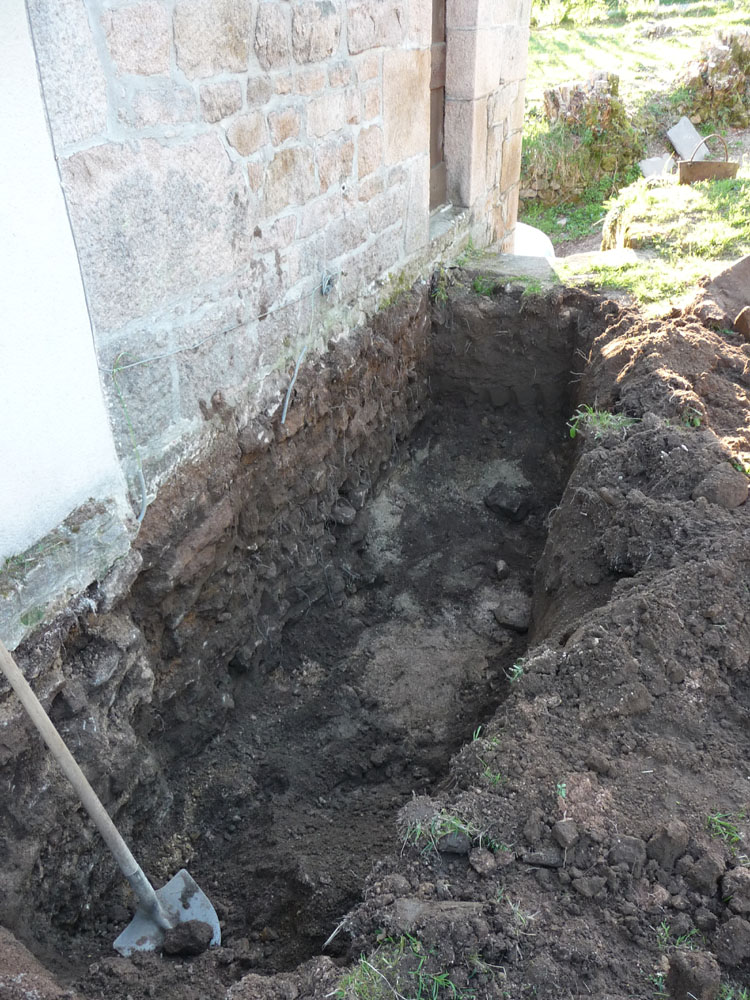 Step 2: start digging. The essence of the French drain is that you dig a trench around the perimeter of the property, down to its foundations, make the walls watertight, install a drain to carry away the water in the ground, backfill, enjoy the benefits of a dry house.
Problem 1: we knew that the old section would not have any foundations, given its age. What was a surprise is the fact that the outside face of the stone wall finished a couple of feet or more above the interior face. We had been expecting to dig down much further. This meant we would have to dig an additional trench, further out, to go deeper.
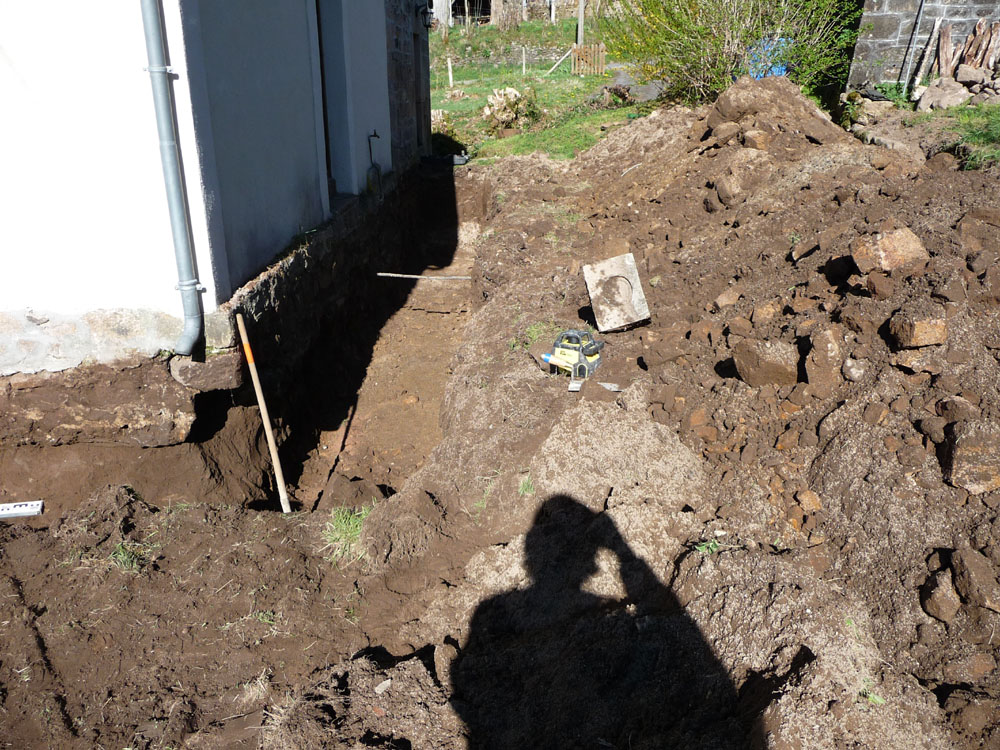 After a day or two of thunderous and dangerous-sounding clanking, vibration and scraping, we were left with a large, deep moat around the house, which exposed :
Problem 2: the new section, built maybe 50 or 60 years ago, also has no foundations. It is built directly onto the earth. That earth just happens to be almost solid granite below a meter or so of soil, but even so, ‘Oh, not sensible’ did spring to mind, and the masons all seemed to spring a look of raised-eyebrow surprise simultaneously. On top of that, the section of stone wall below ground that is supposedly providing a sturdy base for the brick walls laid upon it is very shallow at the top corner. And some of that fell away during the digging process.
 Step 3, solution to problem 2: shore the building up with a good strong-looking wodge of concrete.
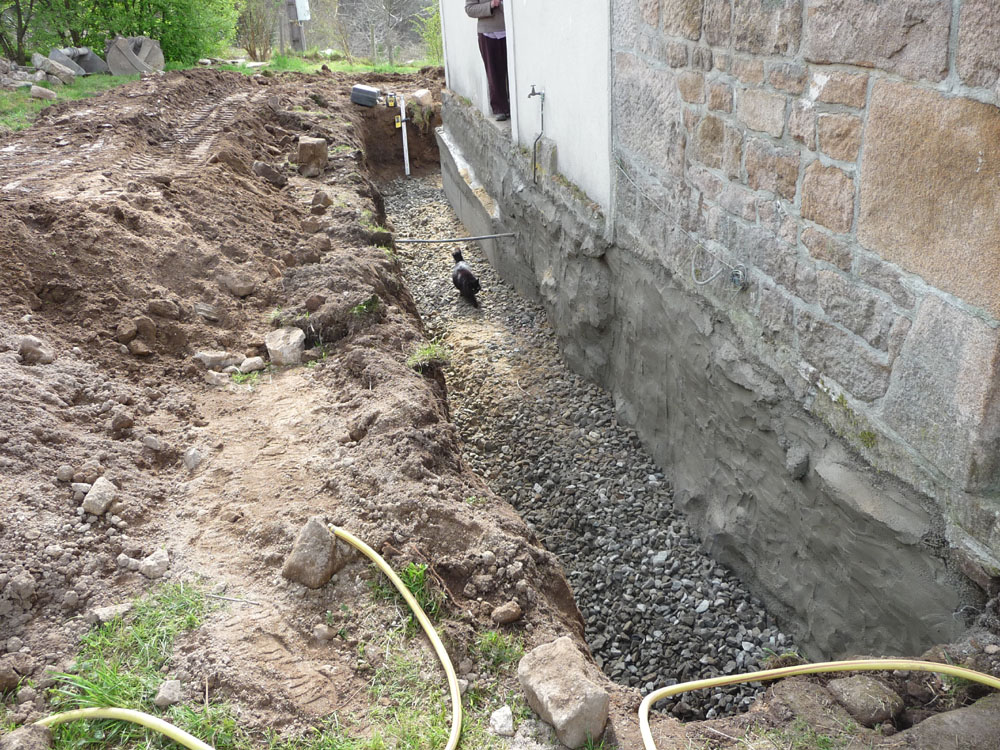 Step 4: spray the exposed stone walls with concrete to fill in any gaps, bind all the loose material, and create a more solid foundation for the work to follow.
Step 5: line the trench with hardcore.
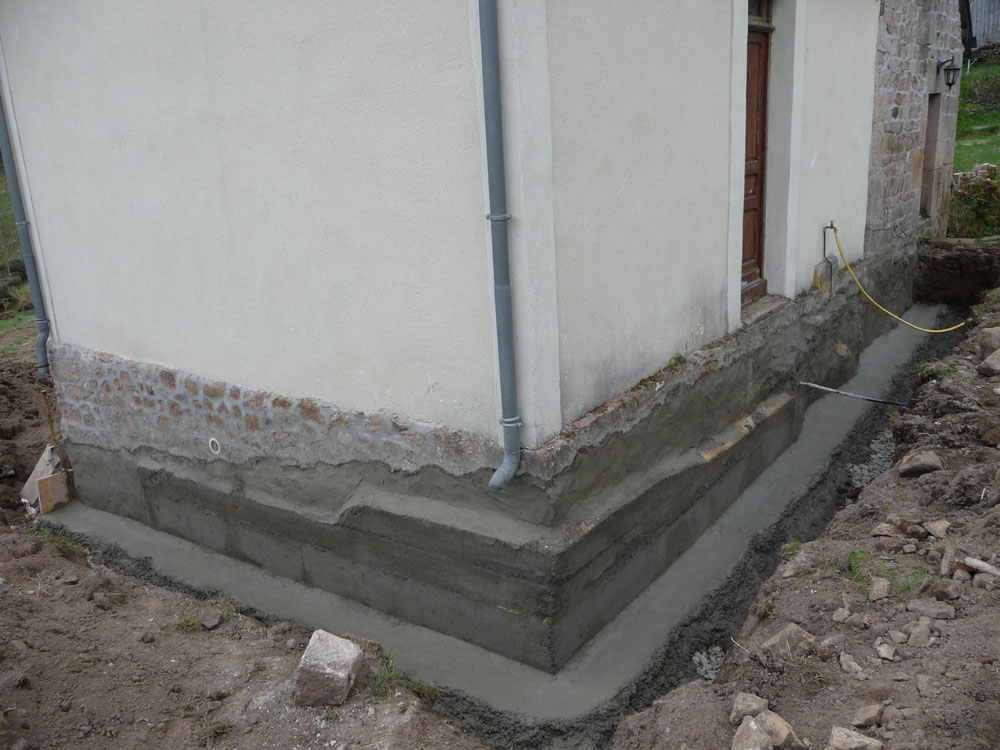 Step 6: form a concrete base on top of the hardcore, at a uniform slope, on which to lay the drain.
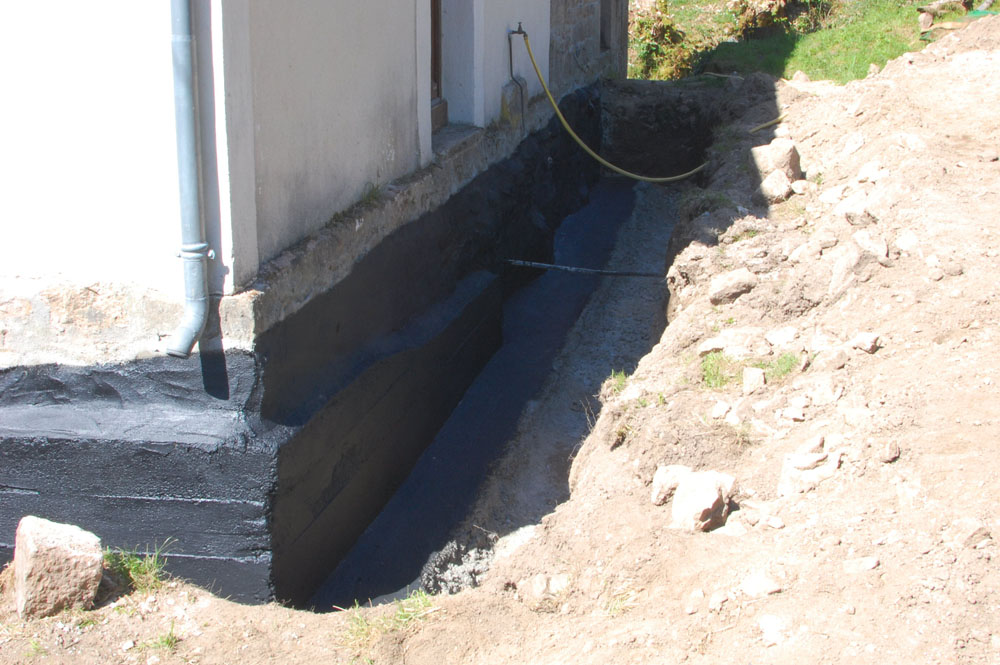 Step 7: paint the concrete with bitumen.
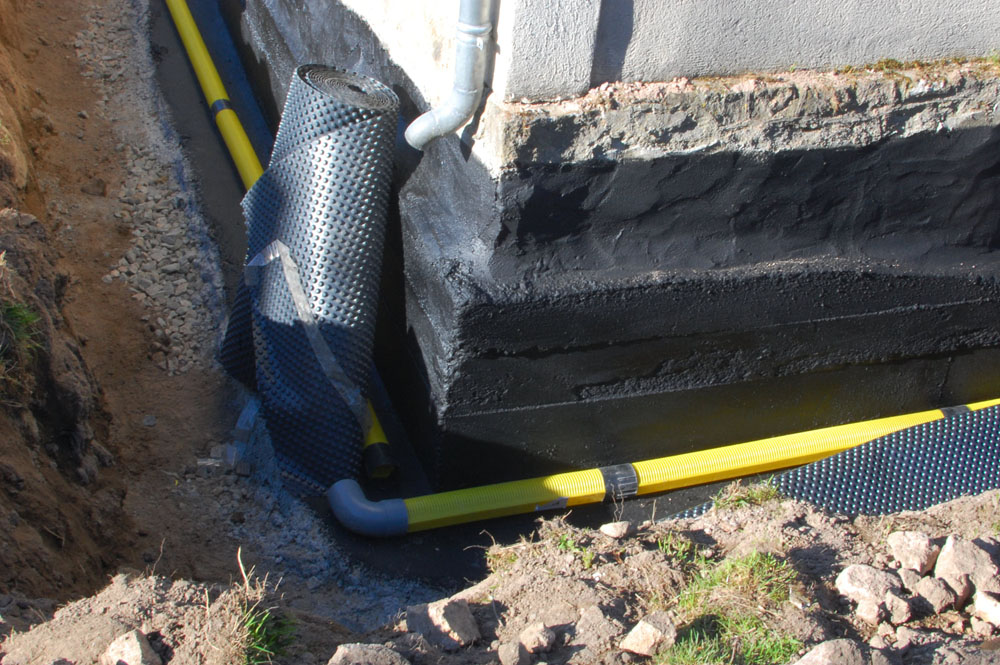 Step 8: lay the plastic pipe. This pipe is perforated with many small holes on the top and at the sides, allowing the water to pass through to the flat bottom and be carried away.
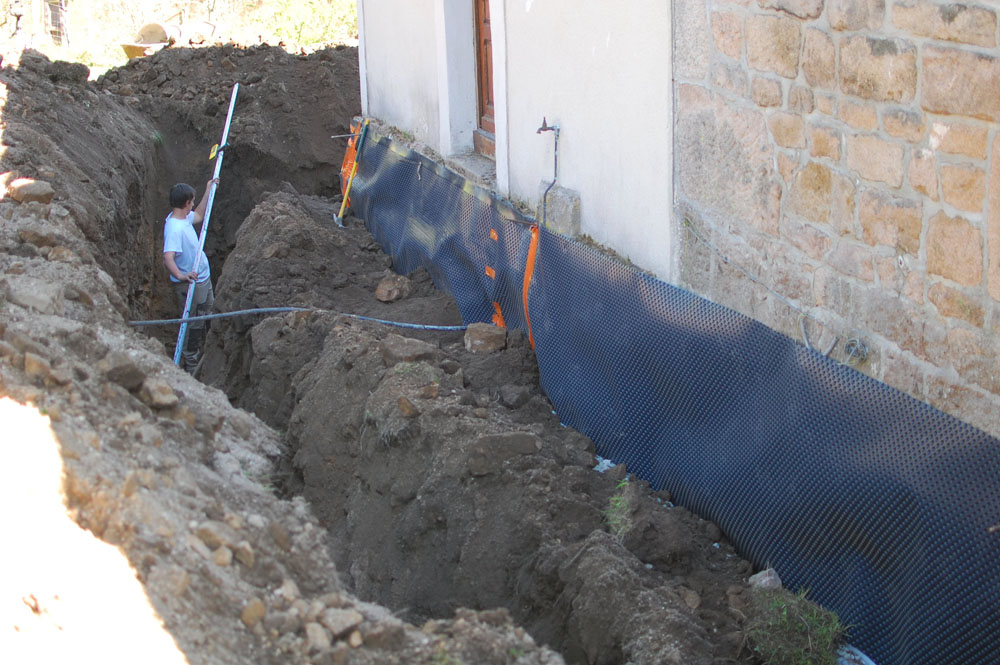
 Step 9: line the walls with Delta MS, a dense, dimpled polythene which creates an impermeable shield, preventing moisture passing from the soil to the wall. The dimples encourage the moisture to descend to the bottom of the trench where it is collected by the drain.
Step 10: cover the pipe with more hardcore.
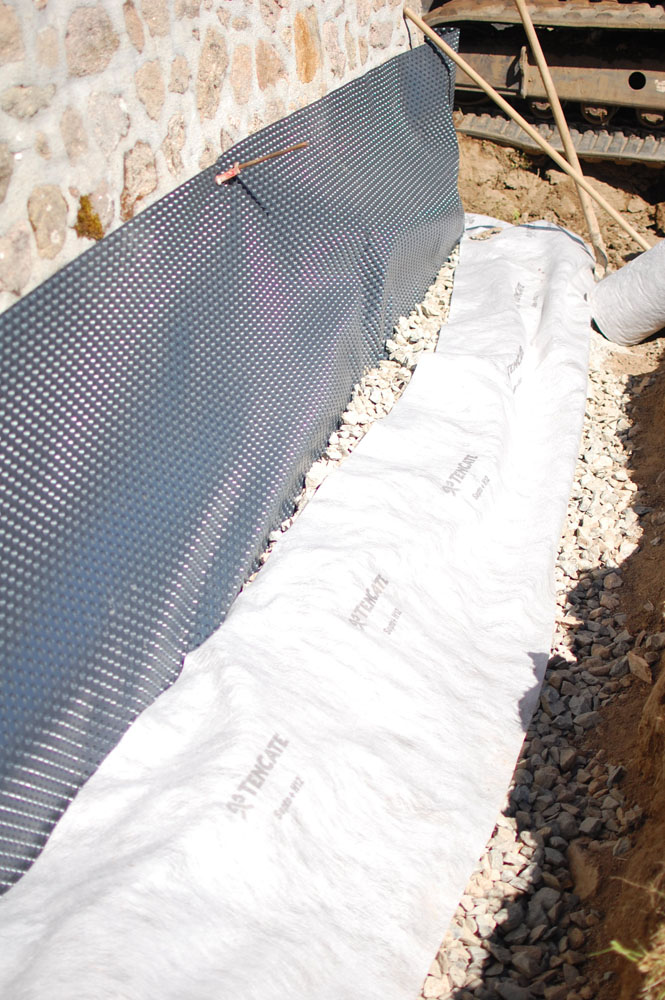 Step 11: lay a permeable membrane on top of the hardcore. This allows moisture to pass through, but filters out much of the crud that might otherwise block the drain.
 Step 12: backfill with soil. This is the point at which the process is normally complete.
However, because of the lack of foundations and shallow supporting walls, leaving the French drain like that wouldn’t have been very effective. Moisture would have been able to pass underneath the drain and the walls, potentially causing problems similar to those we are trying to mitigate.
We therefore had to dig a much deeper trench further out, and line that with another pipe ( without all the bitumen and DeltaMS this time ).
Step 13: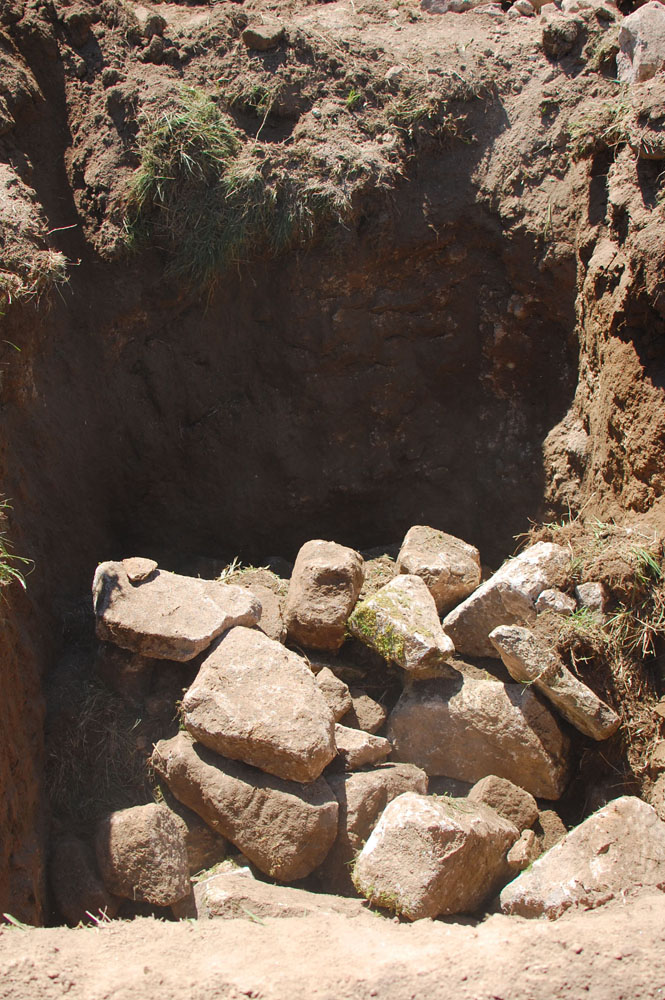 the French drain pipework was connected to new rainwater pipework, and directed off to a very big hole that was filled with very large boulders.
This should allow the water to percolate away slowly through the ground, at a safe distance downhill from from the house.