
 It will take several years before the cycle that we started last winter to grow firewood will yield anywhere near the amount we will need, and so for now we will be buying metre lengths of well seasoned wood from a neighbouring hamlet.
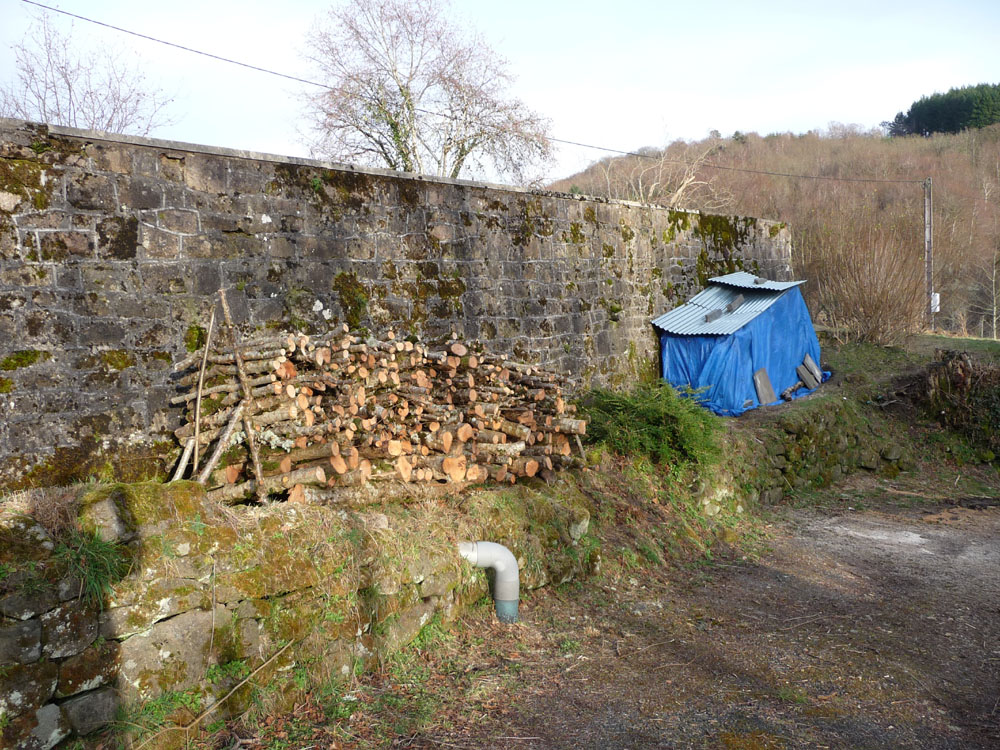
Regardless of where it comes from, the wood will need to be stored somewhere. Moving here mid winter last year, with changes to absorb and many things to take care of, we had no time to build a shelter, and simply stacked the load that we bought under a tarpaulin topped off with corrugated steel. Effective, but aesthetically lacking, and a pain to negotiate.
So, we found ourselves in need of a shed.
The only time constraint was making sure the shed was complete by earlyish September ( we started in mid July ), so as to be able to collect and store the firewood before the rains arrived. I also wanted to practise making proper joints, and to spend as much time as possible outside while the weather was good.
Most previous efforts at constructing things, before we moved here, had ended in disappointments ranging from mild to “where’s the gin ?”. They had all suffered from the same problems : lack of sufficient space, time and tools.
Space and time were sorted, and I had recently sourced some choice wordworking tools. So, determined not to rush, I aimed to finish only when the project deemed itself complete.
Location
 Must be accessible by car, so as to be able to drop off loads and not have to carry them too far, sheltered location, minimal hassle to carry processed wood from shed to house.
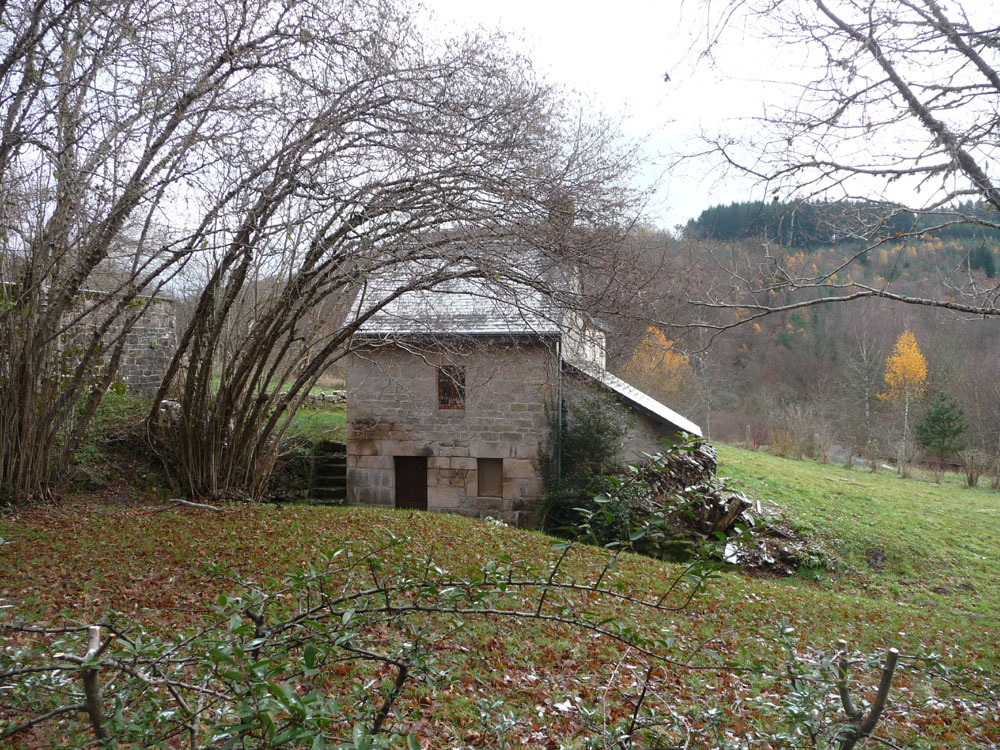
The area just to the right of the house was chosen. Level, at the end of the drive, in a dip, close to the steps.
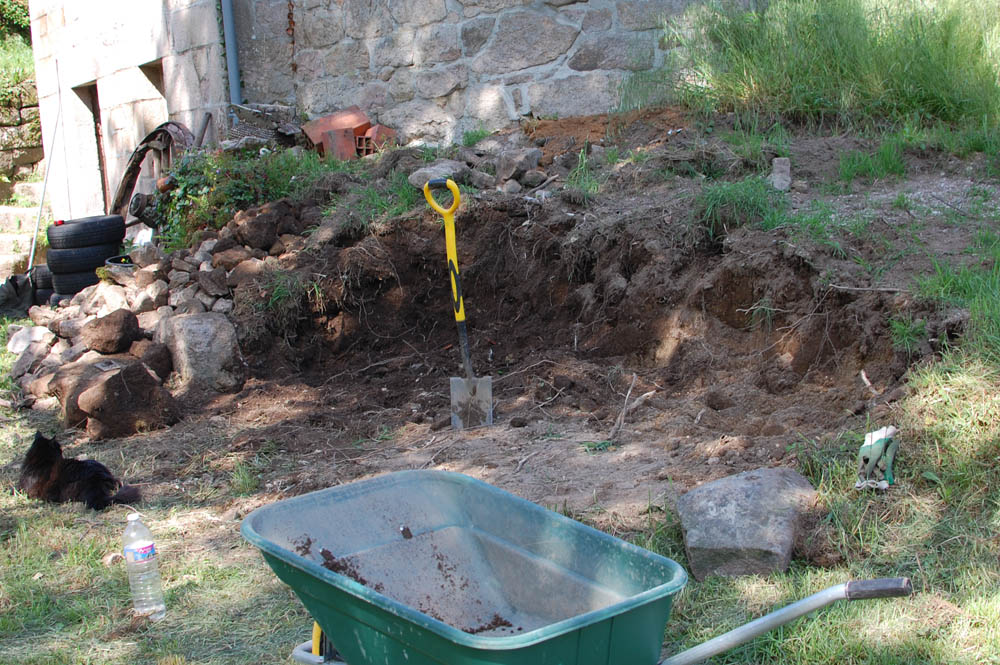
When installing the French drain we took the opportunity of having access to a digger to remove one of the large, old hazel stools, concerned that its roots might damage the bread oven close by. This left us with the basis of the perfect area.
Stone wall
 A major benefit of living on a granite plain is that we have easy access to big stones, many of which once formed old walls, lying around the plot.
I wanted to build a wall because I needed to ensure that the wooden structure didn’t soak up moisture from the ground and also, well, why not, can’t be that difficult can it ?
Yes, it can. Especially when the stones available are very irregular in shape and extremely heavy. I suppose I could have tried cutting the blocks to make placing them easier, but that would have required time and equipment that seemed out of all proportion to the task at hand.
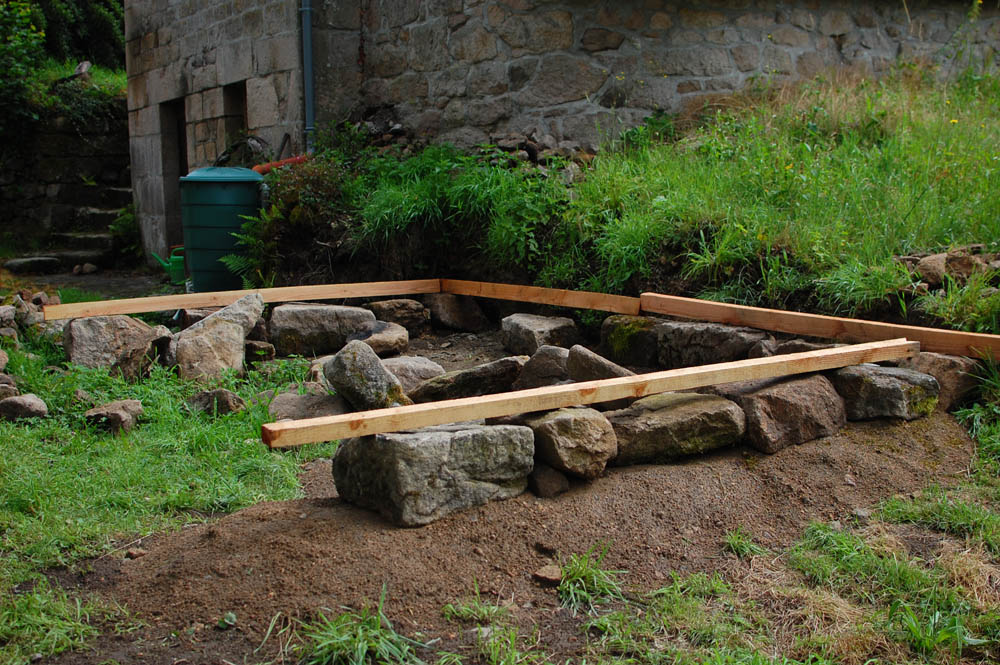
So, a rustic ( ready crudely constructed, irregular ) wall it would have to be. First step is to set the corner stones. Find the biggest stones available, roll, nudge, strain and curse them into place. Make sure they are level and square with each other by laying lengths of wood between them. This would be pretty simple to achieve with straight timber, however, I decided on a whim to buy some lengths of 50×80 that were described as ‘banan’ by the woodyard, some more wonky than others, but none truely straight. They were a good price, but made the project …. interesting.
Cornerstones finally in place, and as square as the warped timber would allow me to judge, we had a 5m x 2.5m area ready to build on.
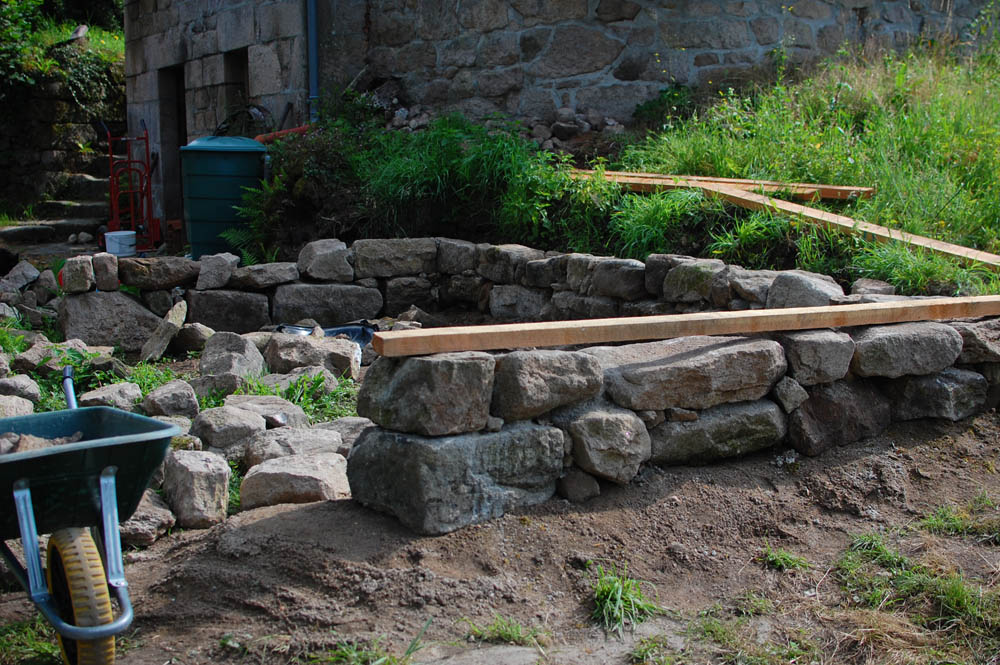 Using the timber as a less than ideal guide, the ground level stones were laid straight onto the earth.
I had read a few forum posts and pro blogs and watched ‘idiots guide to building walls’ videos on youtube. They all suggested that laying solid foundations first is the right and proper thing to do.
However, the ground, owing to the upheaval during the previous digging works, was mostly powdered rock, borderline sand, that had set very hard elsewhere in the garden. There is maybe a metre of topsoil on top of solid granite bedrock. Also, the house has no foundations, has stood for four or five hundred years, and seems not to have suffered during that time.
So, foundationless we went.
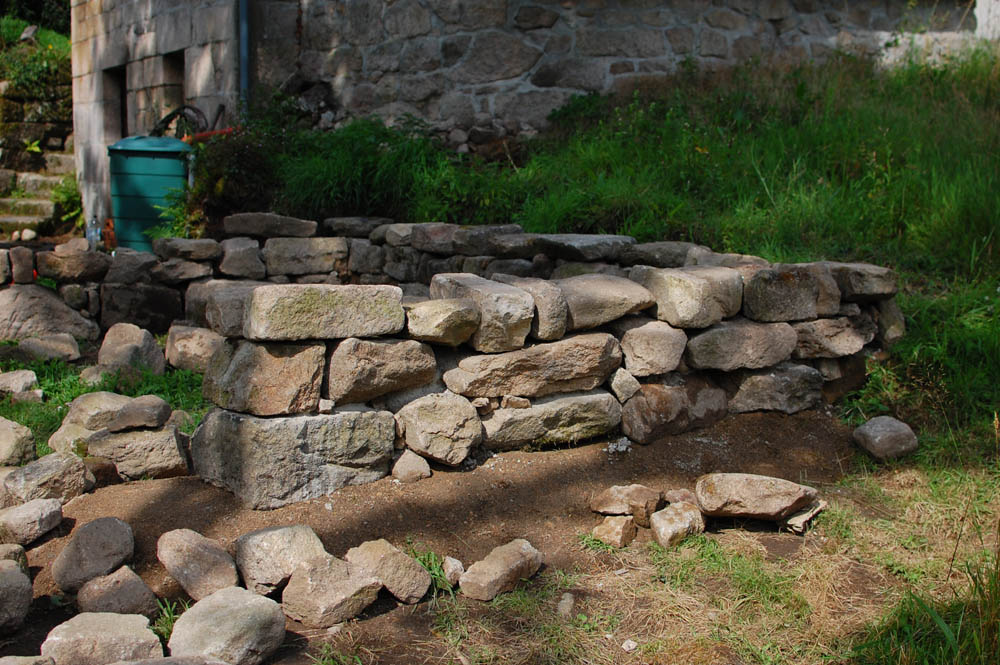 It’s surprising how quickly your eye adjusts to reading the pile of stones sprawled over the ground and matching them to the ever-decreasing spaces needing to be filled. On several occassions, I found myself heading instinctively to exactly the right stone after glancing at a space.
After three rows ( which took as many weeks, between rains, to construct ), the wall seemed to have taken on a form that looked complete. That’s what my back was whimpering, anyway. Actually, its state at this point was surprisingly straight and level, and I was concerned that another row would wreck this natural break point.
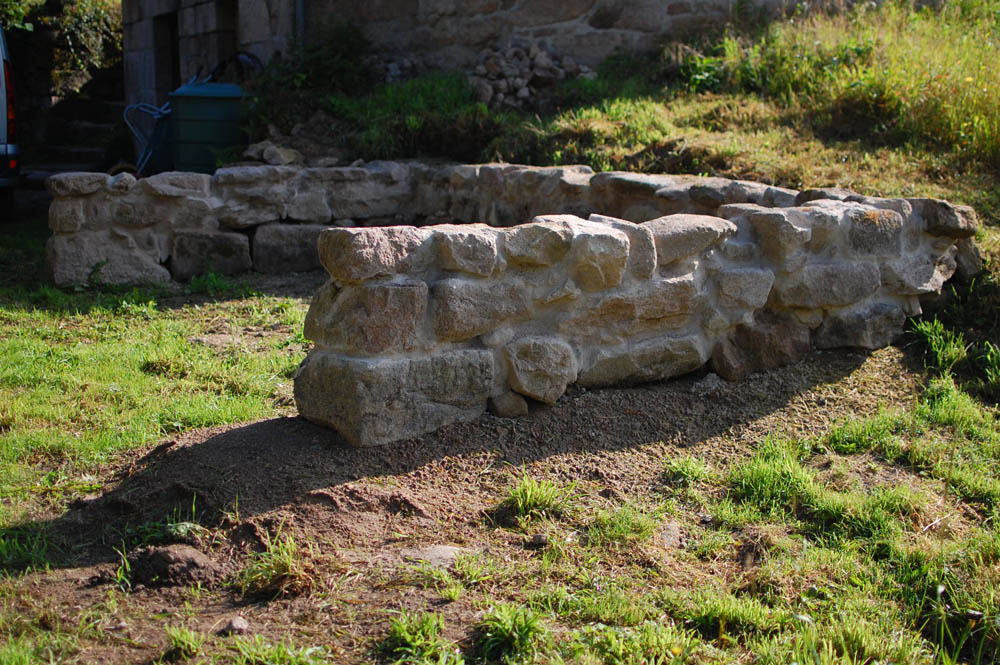 All that remained to do was fill any smaller gaps with small stones and lightly point the whole thing.
I was tempted to use lime to mortar and point, but, given that most of the recent repointing elsewhere seems to have been done with a cement mix, and that lime is much more difficult to work with, I took the easier option.
Wooden frame
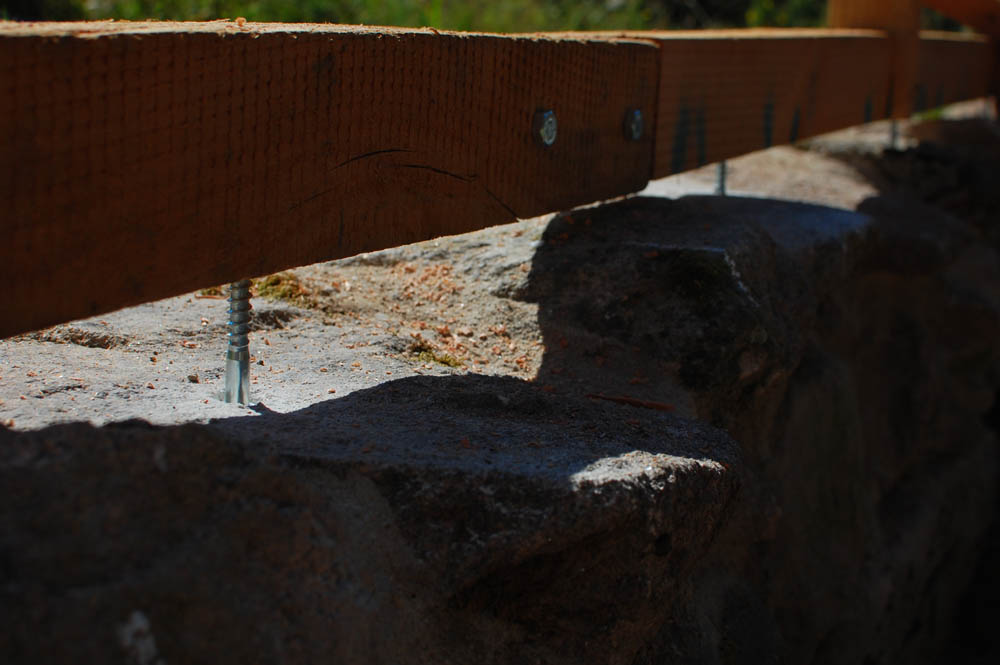 The principal horizontal elements of the frame have a series of 10mm bolts screwed into the underside. These are positioned into shallow holes drilled into the top of the stone wall.
They keep the wood separated from the stone, preventing moisture from passing to the wood, and allow the lengths of wood to be levelled easily on a very uneven surface.
At first glance, it seems odd to think of the weight of a 5m x 2.5m x 2.5m wooden structure being supported by fairly slender metal bolts in this way. However, we have seen the system in place on a number of larger structures around here, and so it must work. Most of the bolts extend only a short distance out of the wood, with the load passing straight down through them into solid stone.
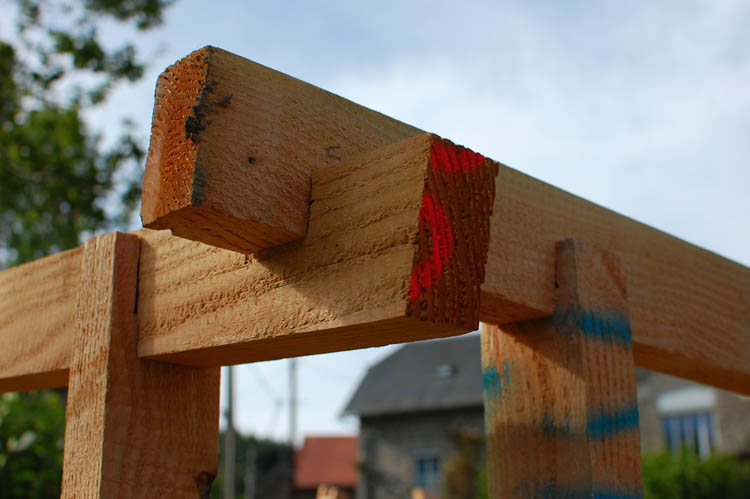 Most of the principal frame elements are connected using lapjoints. This is just about the simplest form of joint to cut, but, when the joints are tight, and all are pulling against each other, it is very effective, and strong.
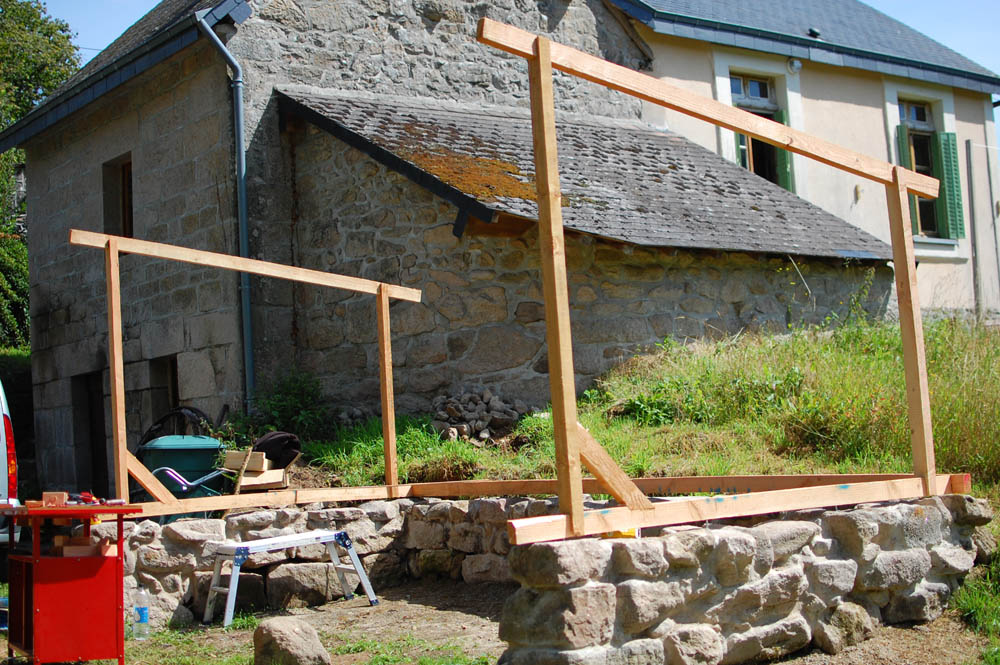 This first stage was the most nerve-wracking to construct. Even though the joints tying the sides to the rear rear section were tight, there was a fair amount of weight acting upon them, and on numerous occassions it looked like they were about to give way and crash to the ground.
 Once the primary frame was in place the whole thing felt secure.
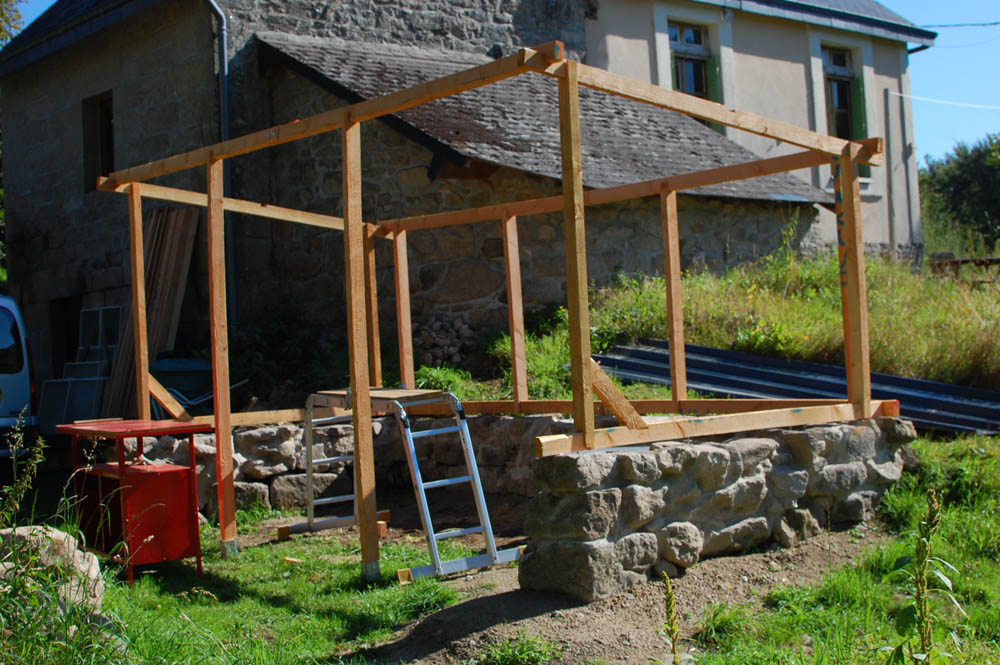
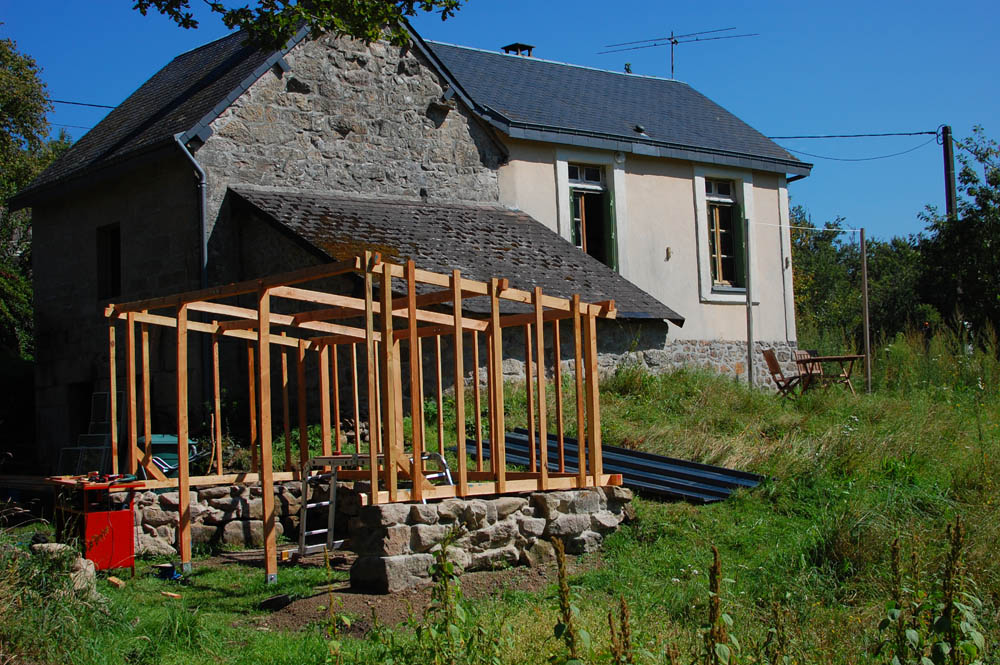 Following this, the roof supports and cladding battens were added.
I really didn’t want to have to support the roof supports with more vertical elements, as this would break up the storage space too awkwardly, and make the whole thing look way too over-engineered.
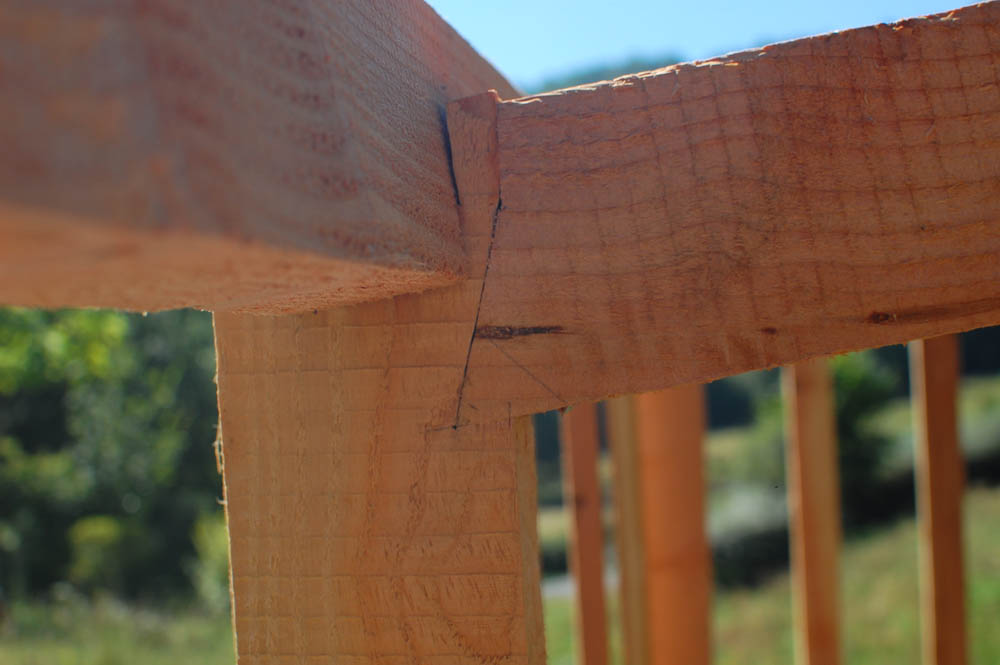 So, the roof supports were jointed into the principal external verticals with a simple wedge. It looks simple, but the feeling of satisfaction associated with making an angled joint that features no perceptible gap is … well … you have to try it to get it, I guess.
 The cladding is Larch, a Japanese/European cross grown in abundance around here. The timber is very high in natural oils, meaning it requires no treatment to preserve it. It will change colour from a pale blonde through to a golden yellow, and finally to a silvery grey, the time taken to do so depending on how much direct sunlight it is exposed to.
We had the option of rough planks, or planed lengths of tongue and groove. We chose the fancier, more expensive option. Not only does it look much better ( important given that it’s placed fairly prominently at the front of the house, and is not a small structure ), but it is immensely easy to work with. Once the first length is positioned horizontally, all others simply slide into place, ready to be nailed to the battens. This is not a minor consideration when trying to place several dozen lengths at 2.5m each.
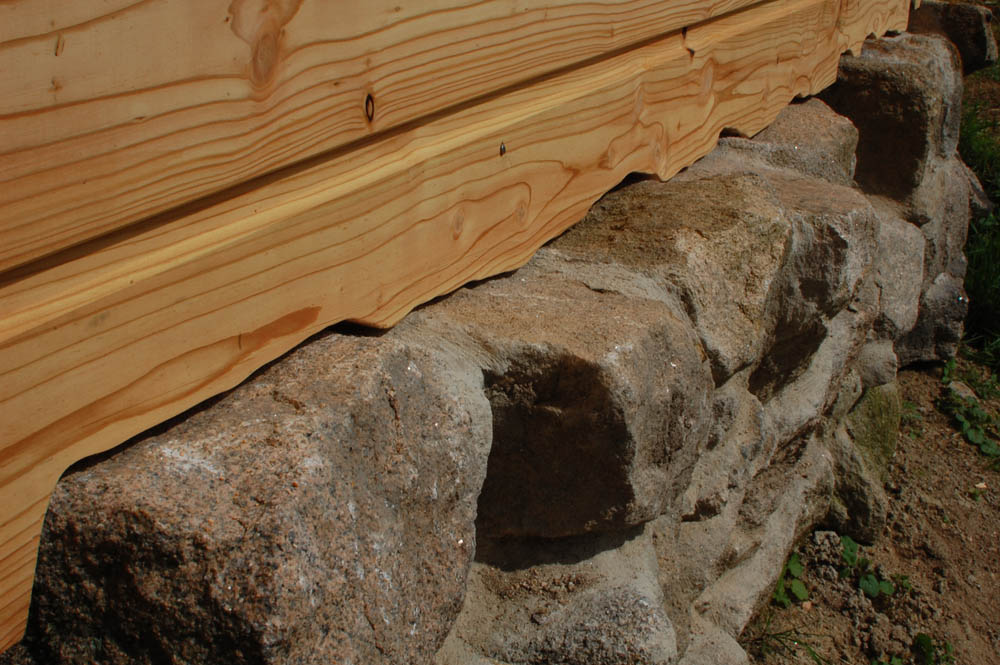 Because of the wonky nature of the top surface of the stone wall, the bottom length of cladding had to be cut to follow the wall’s contours, so as to minimise the gap available to the ample volume of rain that falls in these parts. This task can be filed under ‘frustrating’.
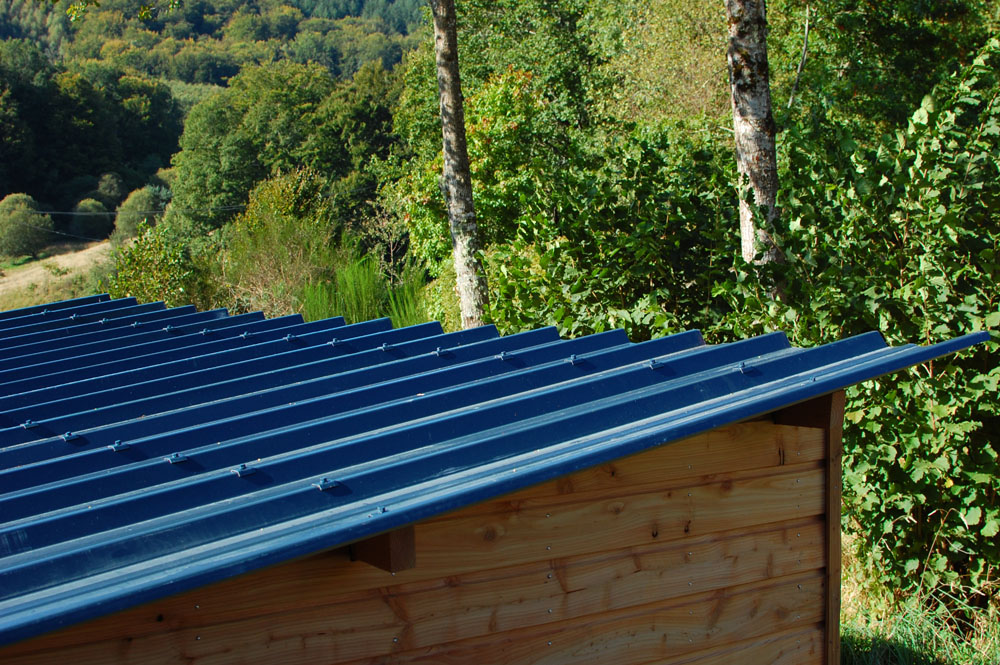 The roof is agricultural galvanised steel, a product that comes in a variety of fancy colours. It is very lightweight, but very durable, requires less structure to hold it up, and can be used to construct rooves of a fairly low slope. Once screwed into place the whole structure is firmly tied together.
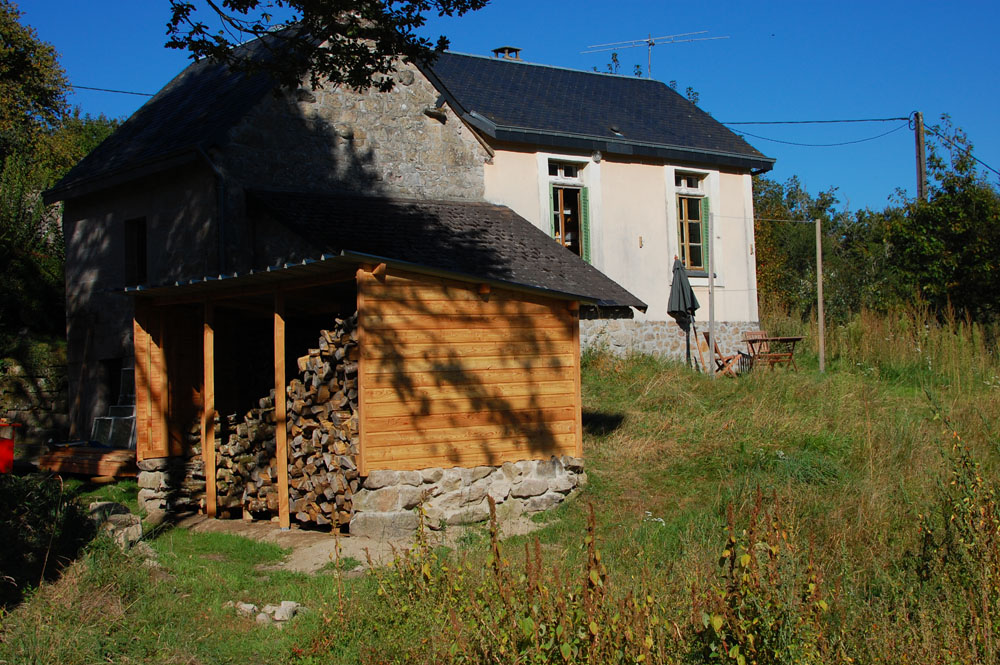 Last step : fill with wood, and gaze longingly at every opportunity.
Pro stone masons and carpenters would no doubt have something to say about the unorthodox approach, but, as long as it can carry out its function without the need to check on it during every gust of wind, I’m happy to wallow in a little self-satisfaction.